
Email Management
How to Organize Your Gmail Inbox (Labels, Filters, Categories)
Simplify Gmail with categories, filters, and 5–7 labels to auto-sort newsletters, receipts, and time-sensitive messages.
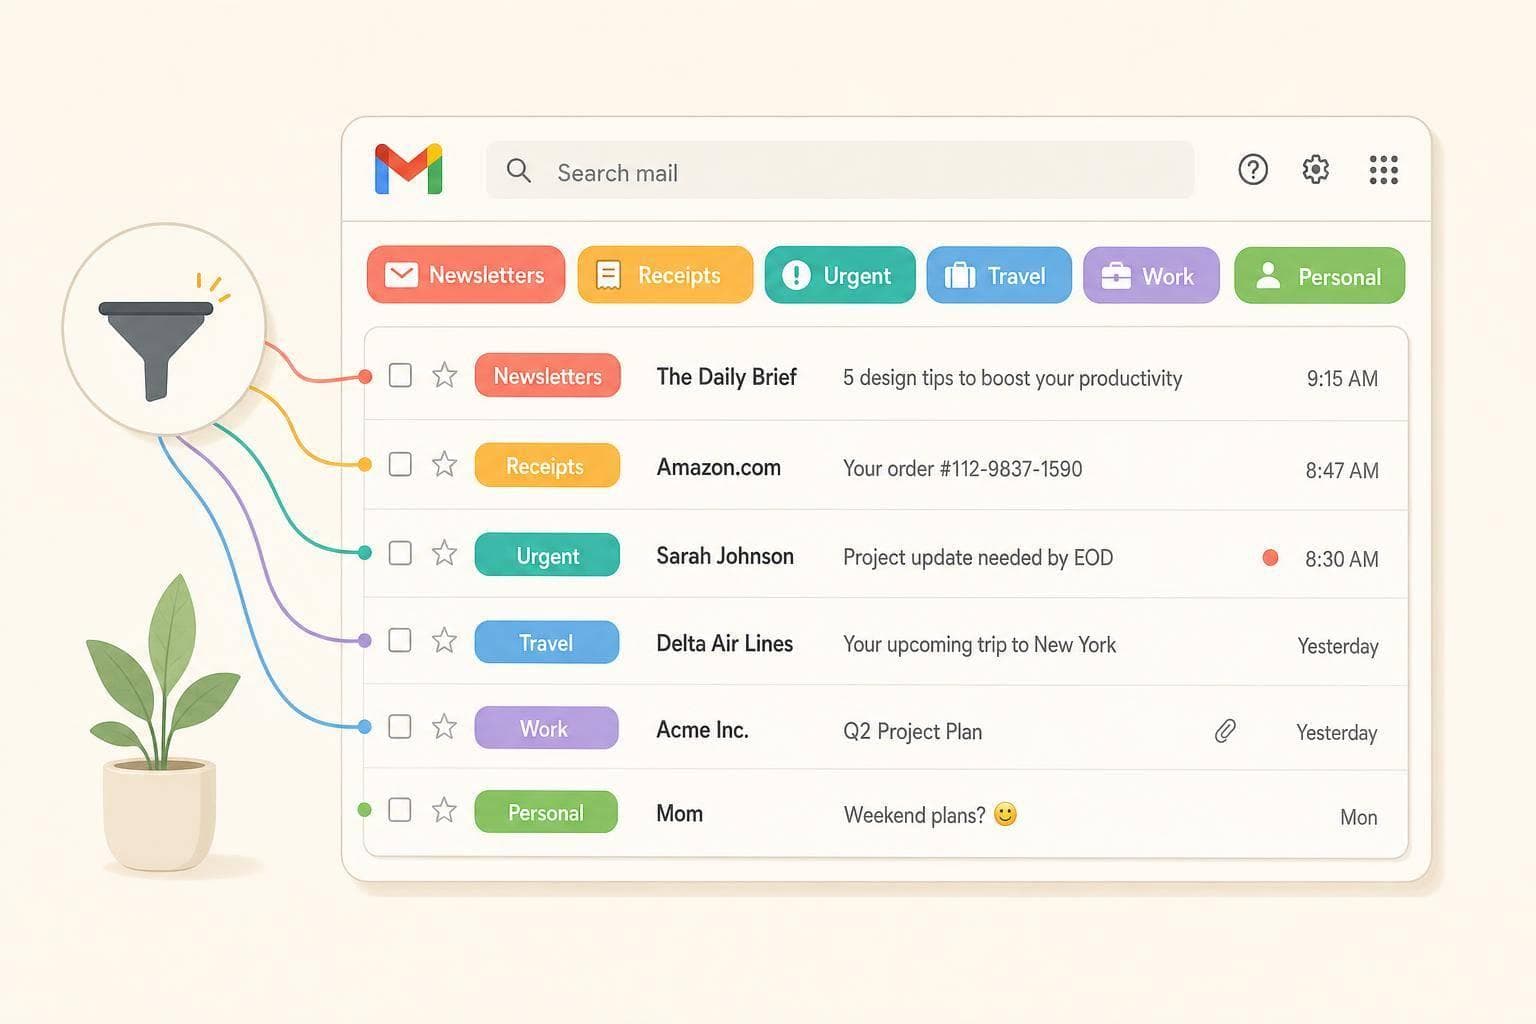
How to Organize Your Gmail Inbox (Labels, Filters, Categories)
If your Gmail inbox feels out of control, I’d fix it with just 3 tools: categories for sorting, filters for auto-handling repeat mail, and labels for finding mail later.
Most people do too much. I’d keep it to 5–7 labels, a few filters for things like newsletters, receipts, and large attachments, and only the inbox tabs you use. That setup cuts down manual sorting without turning Gmail into a second job.
Here’s the short version:
- Categories move bulk mail like promos and updates out of Primary
- Filters auto-label, archive, or remove repeat messages
- Labels help me group things like bills, tax docs, travel, and follow-up emails
- Newsletters should usually skip the inbox
- Receipts and time-sensitive emails should stay visible until handled
- If clutter keeps coming back, the issue is often volume, not just organization
Email overload is common. Office workers spend about 28% of the workweek on email, according to a McKinsey report often cited in workplace studies. That’s a big reason to keep the setup short and usable.
| Tool | Main job | Best use |
|---|---|---|
| Labels | Tag emails for later | Projects, receipts, follow-ups |
| Filters | Auto-sort new mail | Newsletters, alerts, large files |
| Categories | Split inbox into tabs | Promotions, Updates, Social mail |
I’d think of it like this: categories sort first, filters handle repeat work, and labels make old messages easy to find. That’s the whole system in plain English.
Gmail Filters Tutorial: Automatically Organize Your Inbox (Labels, Auto-Delete, Rules)
sbb-itb-34b9fd2
Labels vs. filters vs. categories in Gmail
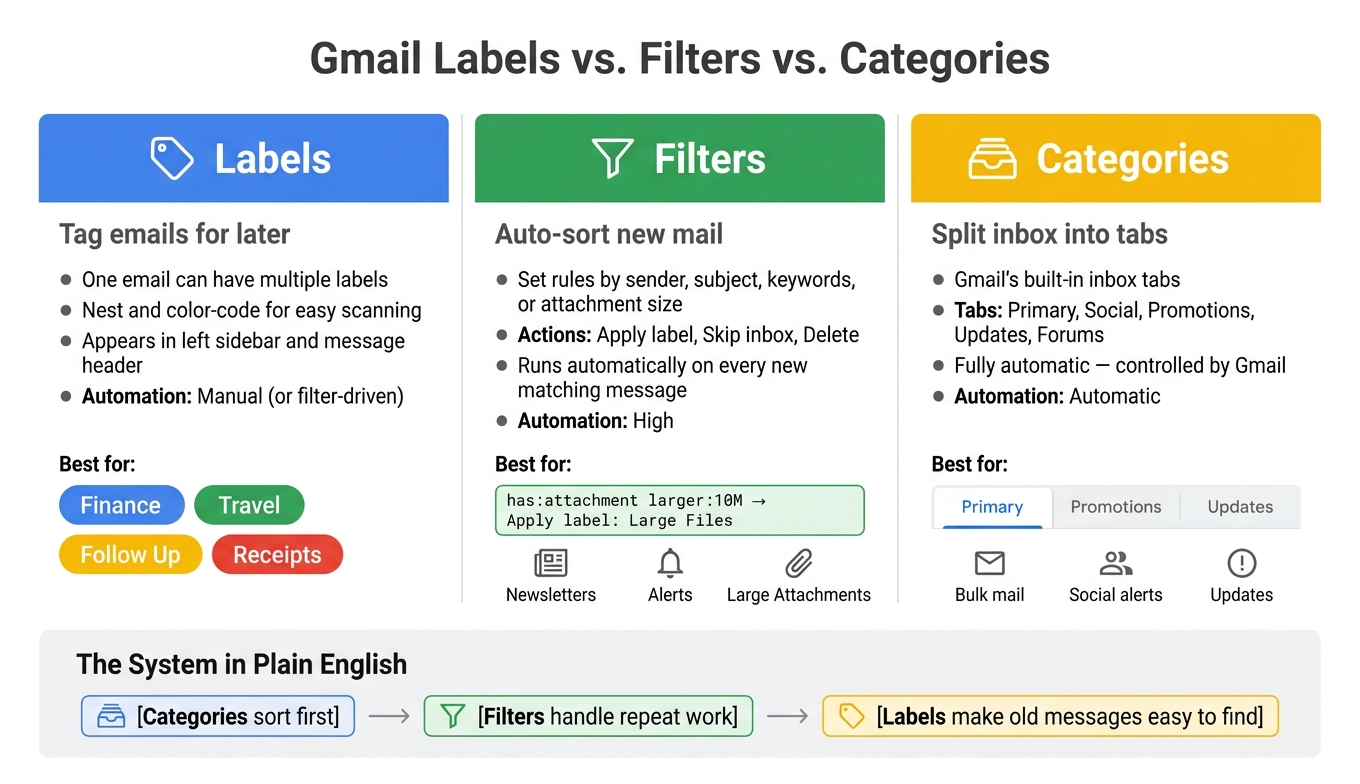
Gmail Labels vs. Filters vs. Categories: Quick Comparison Guide
Now that each one has a clear job, let’s look at how they work day to day. This table gives you the quick version.
| Feature | Purpose | Where it appears | Automation | Best use case |
|---|---|---|---|---|
| Labels | Tag messages with multiple labels; nest and color-code for grouped organization | Left sidebar and message header | Manual (or filter-driven) | Projects, receipts, follow-ups |
| Filters | Set rules that trigger actions - apply a label, skip the inbox, or delete - on every new message | Background (Settings > Filters) | High - applies to every new message | Newsletters, alerts, large attachments |
| Categories | Split your inbox into tabs for broad inbox separation, sorted automatically by Gmail | Top of inbox (tabs) | Automatic (controlled by Gmail) | Bulk mail, social alerts, updates |
Labels: tags for projects, receipts, and follow-up
Labels are your flexible organizing tool. One email can have more than one label at the same time, which makes them a lot easier to use than old-school folders. You can also nest labels and color-code them, so grouped items are easier to scan.
A simple setup usually works best. Try keeping just a few:
- Action for emails that need a reply
- Waiting for items pending someone else
- Read Later for articles and newsletters
- Receipts for purchases and billing records
That short list handles most inboxes without turning the sidebar into clutter.
Filters: rules that auto-sort and archive incoming mail
Filters handle repeat work for you. You create a rule once based on sender, subject line, keywords, or attachment size, and Gmail applies that rule to every new message that matches.
A filter can:
- apply a label
- skip the inbox
- delete messages automatically
Here’s a useful example: set up a filter with size:5M to label emails with large attachments. That gives you an easy way to spot big files before you have to fix Gmail storage full issues. Instead of making the same sorting choice over and over, Gmail takes care of it in the background.
Categories: inbox tabs that separate bulk mail from important messages
Categories are Gmail’s built-in inbox tabs: Primary, Social, Promotions, Updates, and Forums. Gmail controls these tabs for you, so they work best as a first pass. They move marketing emails and social alerts out of your main inbox view without any manual work.
To turn tabs on or off, go to Settings (the gear icon) > See all settings > Inbox > Categories, then check or uncheck the tabs you want. If a message keeps showing up in the wrong tab, drag it to the right one. Gmail usually picks up on that and sorts future messages from the same sender more accurately.
For a full breakdown of how Gmail's tab system works, see the Gmail categories overview.
Use categories for broad sorting, then layer in labels and filters when you want more control. Next, build a short label set and a few filters around this structure.
How to set up a simple Gmail organization system
Use a small setup you can stick with. The point is a stable structure: 5–7 labels, a few filters, and only the tabs you use.
Create a short label structure you will actually keep using
Now that the basics are set, build a setup you can maintain without much effort. In the left sidebar, scroll down, click Create new label, and add broad groups that match the way you work.
A good starting set is:
- Clients
- Bills
- Tax Docs
- Travel
- Follow Up
If a few labels belong together, nest them so your sidebar doesn't get messy. For example, you can put Bills and Tax Docs under a parent label called Finance by checking Nest label under when you create them. And don't color every label. Color only the ones that matter most, or the whole thing starts to blur together.
Build filters for newsletters, receipts, alerts, and large attachments
Next, turn those labels into rules Gmail can run for you. The easiest way to do that is to start with emails you already get.
Open a newsletter, click the three-dot menu, and choose Filter messages like these. Gmail will fill in the from: field for you. Then add Skip the Inbox and Apply the label: Newsletters.
You can do the same thing for other common email types:
- Use
has:attachment larger:10Mto catch messages with big attachments and apply a Large Files label - Use
subject:(receipt OR "order confirmation")for receipts so purchase records stay labeled and easy to find
A simple rule of thumb helps here: auto-archive newsletters and alerts, but keep receipts and deadline-related emails visible until you've dealt with them. That way, Gmail handles the busywork without hiding things you still need.
Turn category tabs on or off, and retrain misfiled messages
Once your filters are set, clean up the inbox tabs so Gmail can sort incoming mail on the first pass. Keep Primary, Promotions, and Updates on. Turn off Social and Forums unless you use them a lot.
If Gmail drops a message into the wrong tab, just drag it where it belongs and tell Gmail to do that for future messages. It's a small fix, but it trains the system over time.
Once this structure is in place, cut the newsletter noise that keeps filling it back up.
Keep your inbox clean without constant manual work
Once your Gmail setup is in place, the next job is simple: stop new clutter from piling up again.
Cut newsletter noise before it fills your Promotions and Updates tabs
Start with the senders that hit your inbox the most. Deleting emails helps for the moment, but it doesn't stop the next wave from showing up.
If you want to cut those messages off at the source, this guide on how to unsubscribe in Gmail walks through the most reliable ways to do it.
If you'd rather not keep doing that by hand, automation is the next move.
Use MailSweeper to automate cleanup after your Gmail structure is in place
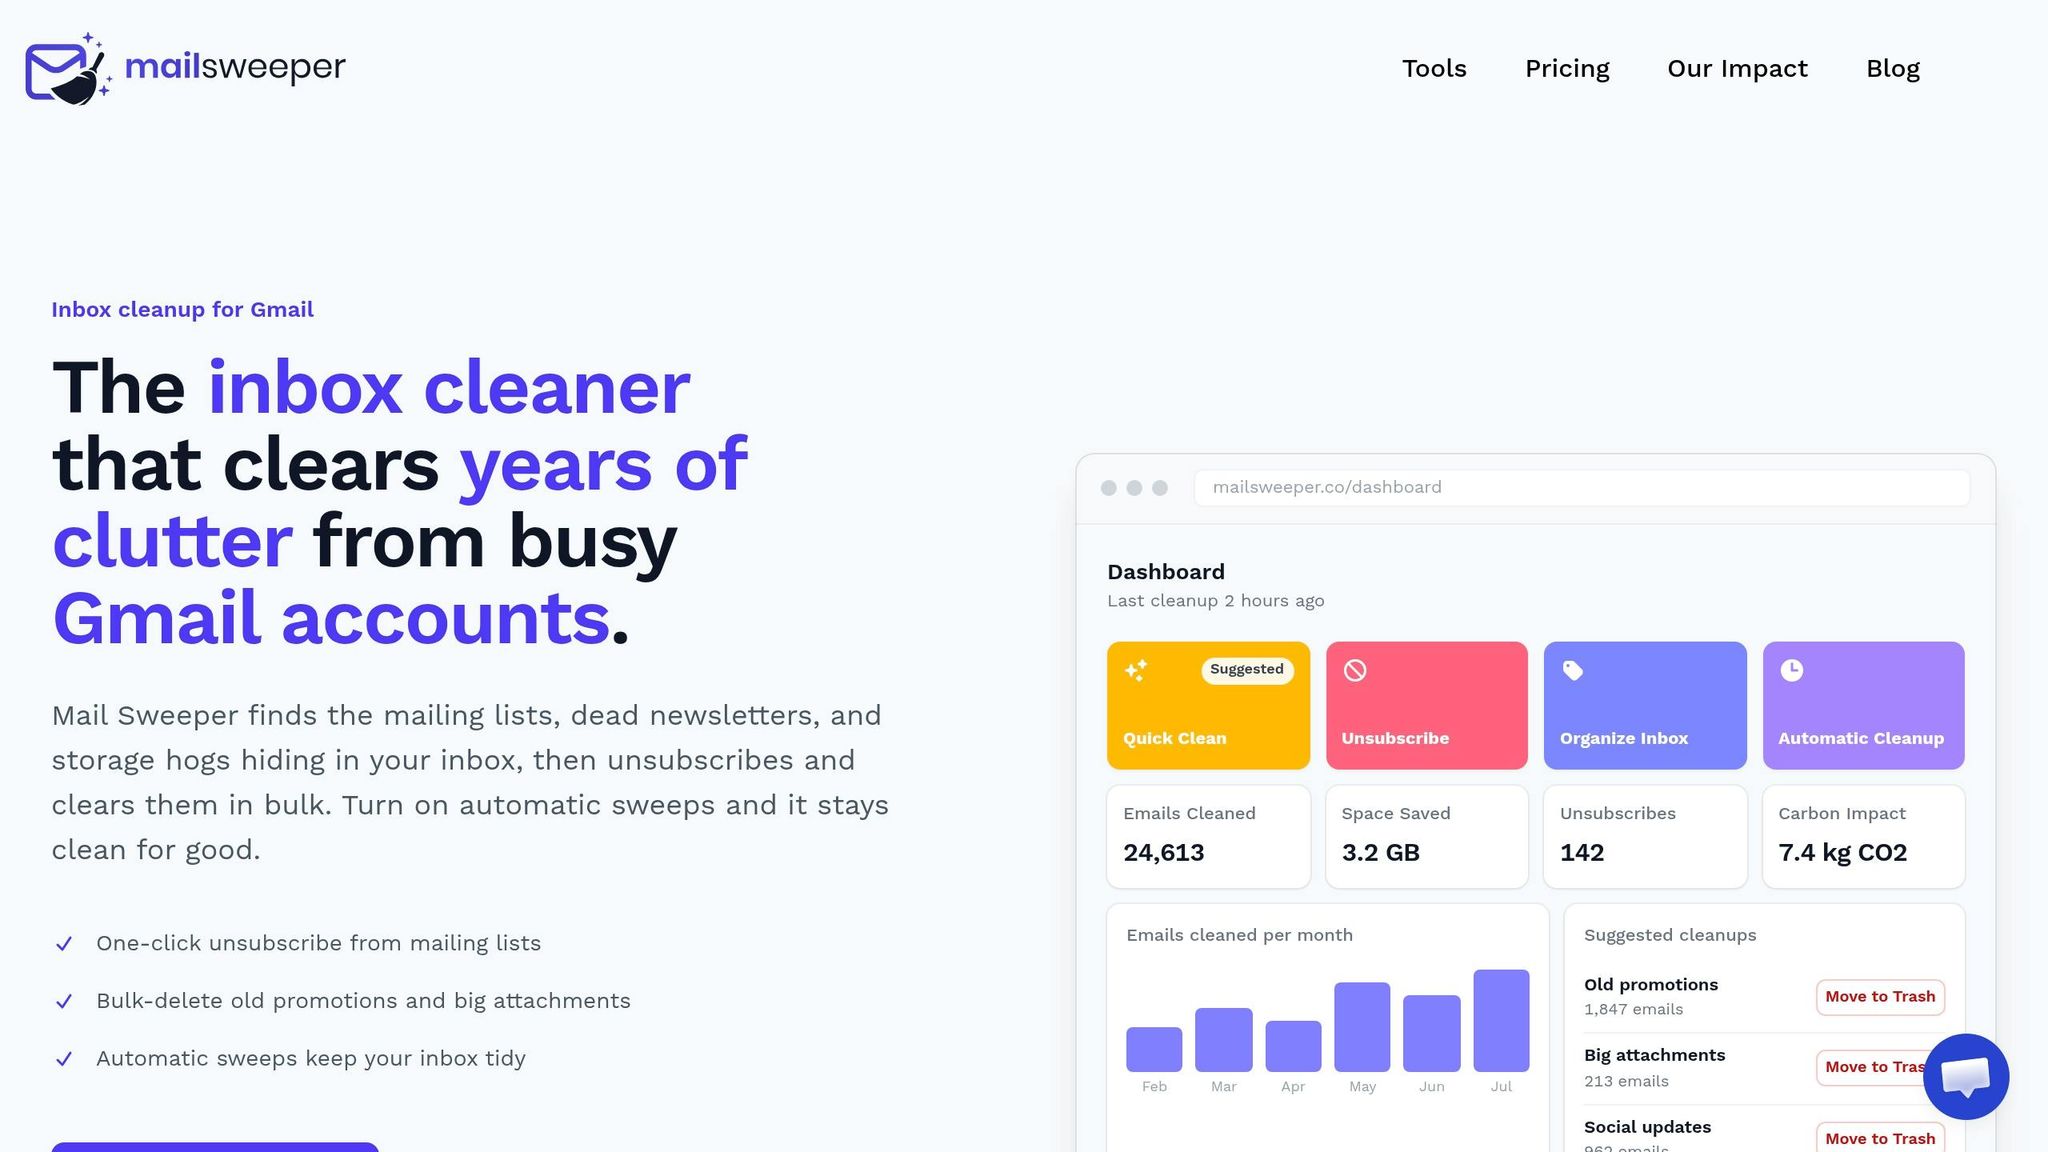
MailSweeper takes over where your Gmail setup stops. You can use it to bulk-clean old promos, sort subscriptions by volume, and sweep new clutter on a schedule.
It is CASA-certified and uses standard Google OAuth scopes, so it never reads your message content. Starred emails and everything in your Primary inbox are never touched.
Conclusion: Pick a Gmail system you can stick with
Once you have the structure set up, the next step is simple: decide how much of it you want to handle by hand. Use labels to create order, filters to sort messages automatically, and category tabs to split up your inbox. Then keep ONLY the parts that fit the way you deal with email.
If clutter keeps piling up, the issue usually isn’t just organization. It’s volume. Labels and filters can help sort the mess, but they won’t slow the stream of promo emails coming in every day. That’s where automated cleanup starts to matter. If volume keeps beating your system, manual sorting on its own probably won’t cut it.
Start by rating your inbox with the free Inbox Zero Score. It takes about 60 seconds and shows how much time your current setup may be costing you.
FAQs
What labels should I create first?
Start with primary labels that sort emails by type or priority, like Projects, Clients, Admin, and Reference. Then add sub-labels for specific tasks or initiatives so your inbox doesn’t turn into a junk drawer.
You can also use status labels such as To-Do, Waiting for Response, and Completed. To save time, set up Gmail filters to apply those labels on their own based on the sender or subject line.
When should I use filters instead of categories?
Use categories for broad, automatic sorting into Gmail tabs like Promotions, Social, or Updates. This helps keep your Primary inbox clear.
Use filters when you want more exact, rule-based control, like sorting by sender, keywords, or attachment size. Filters can also auto-label, archive, or delete emails.
How do I add a category in Gmail?
In Gmail, go to Settings > Inbox and set your Inbox type to Default. Then turn on the tabs you want - like Social, Promotions, Updates, or Forums - so Gmail can sort incoming messages for you.
If you want more control, use labels. You can add them by hand, or set up filters to apply them on their own based on the sender, subject line, or certain keywords.
More free Gmail tools.
Pair these together for a full inbox reset.
Bulk Unsubscribe from Gmail
See the senders flooding your inbox, ranked by volume — your shortlist for unsubscribes.
Open toolMass Delete Gmail Emails
Build a deletion plan by sender, date, label, or all-unread — with the exact Gmail search to run.
Open toolFind Large Emails in Gmail
Pick a size and we build the exact Gmail search to find your biggest emails — then open it in one click.
Open toolGmail Storage Cleanup
Move the slider to your current Gmail usage to see exactly what to delete to free space.
Open toolInbox Zero Score
Rate your inbox health on a 0–100 scale and see the weekly hours your inbox is costing you.
Open tool