Email Management
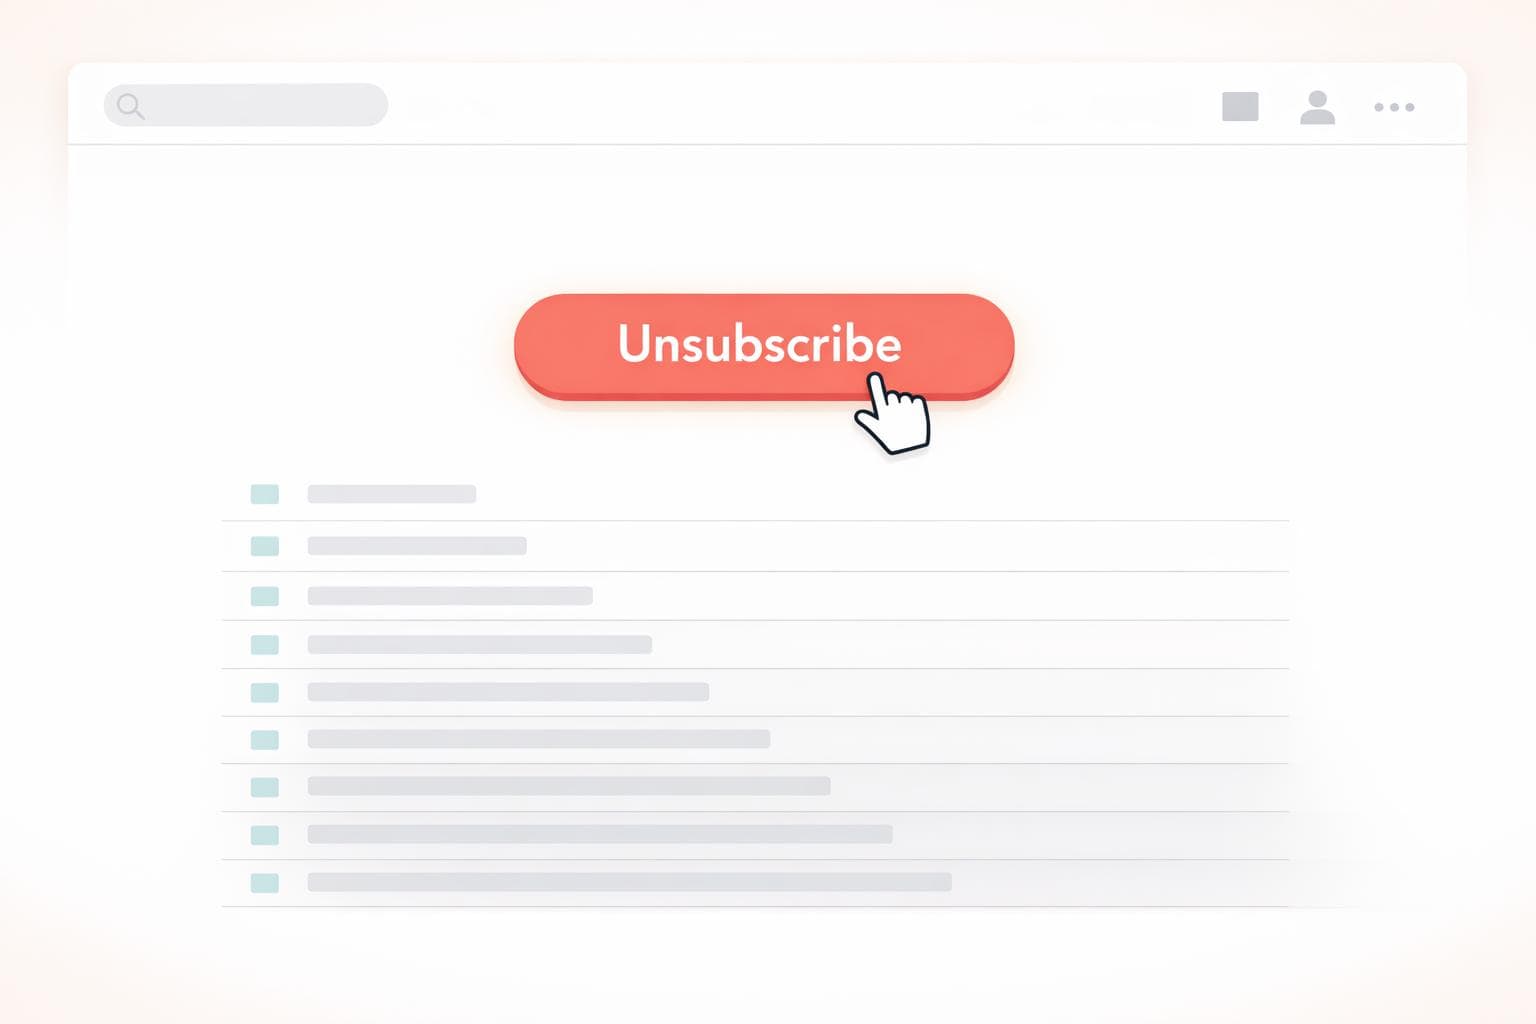
How to unsubscribe from lots of emails
Reduce inbox clutter using Gmail’s unsubscribe tools, batch-remove newsletters with search filters, or automate cleanup with an AI assistant.
How to unsubscribe from lots of emails
Your inbox doesn’t have to be a source of stress. If you're spending hours sorting through unwanted emails, it's time to take control. Here's how you can quickly reduce email clutter:
- Use Gmail’s Unsubscribe Button: Most promotional emails have an easy-to-spot "Unsubscribe" option near the sender’s name. Gmail’s newer Manage Subscriptions feature helps you see and unsubscribe from frequent senders in one place.
- Search and Filter Emails: Type "unsubscribe" in Gmail’s search bar to find newsletters and promotions. Create filters to automatically delete or archive similar emails in the future.
- Try MailSweeper: This AI tool identifies and removes low-priority emails, saving time and storage space. It’s easy to set up and works seamlessly with Gmail.
How To Unsubscribe ALL Emails in Gmail | Gmail Tips and Tricks 2026
sbb-itb-34b9fd2
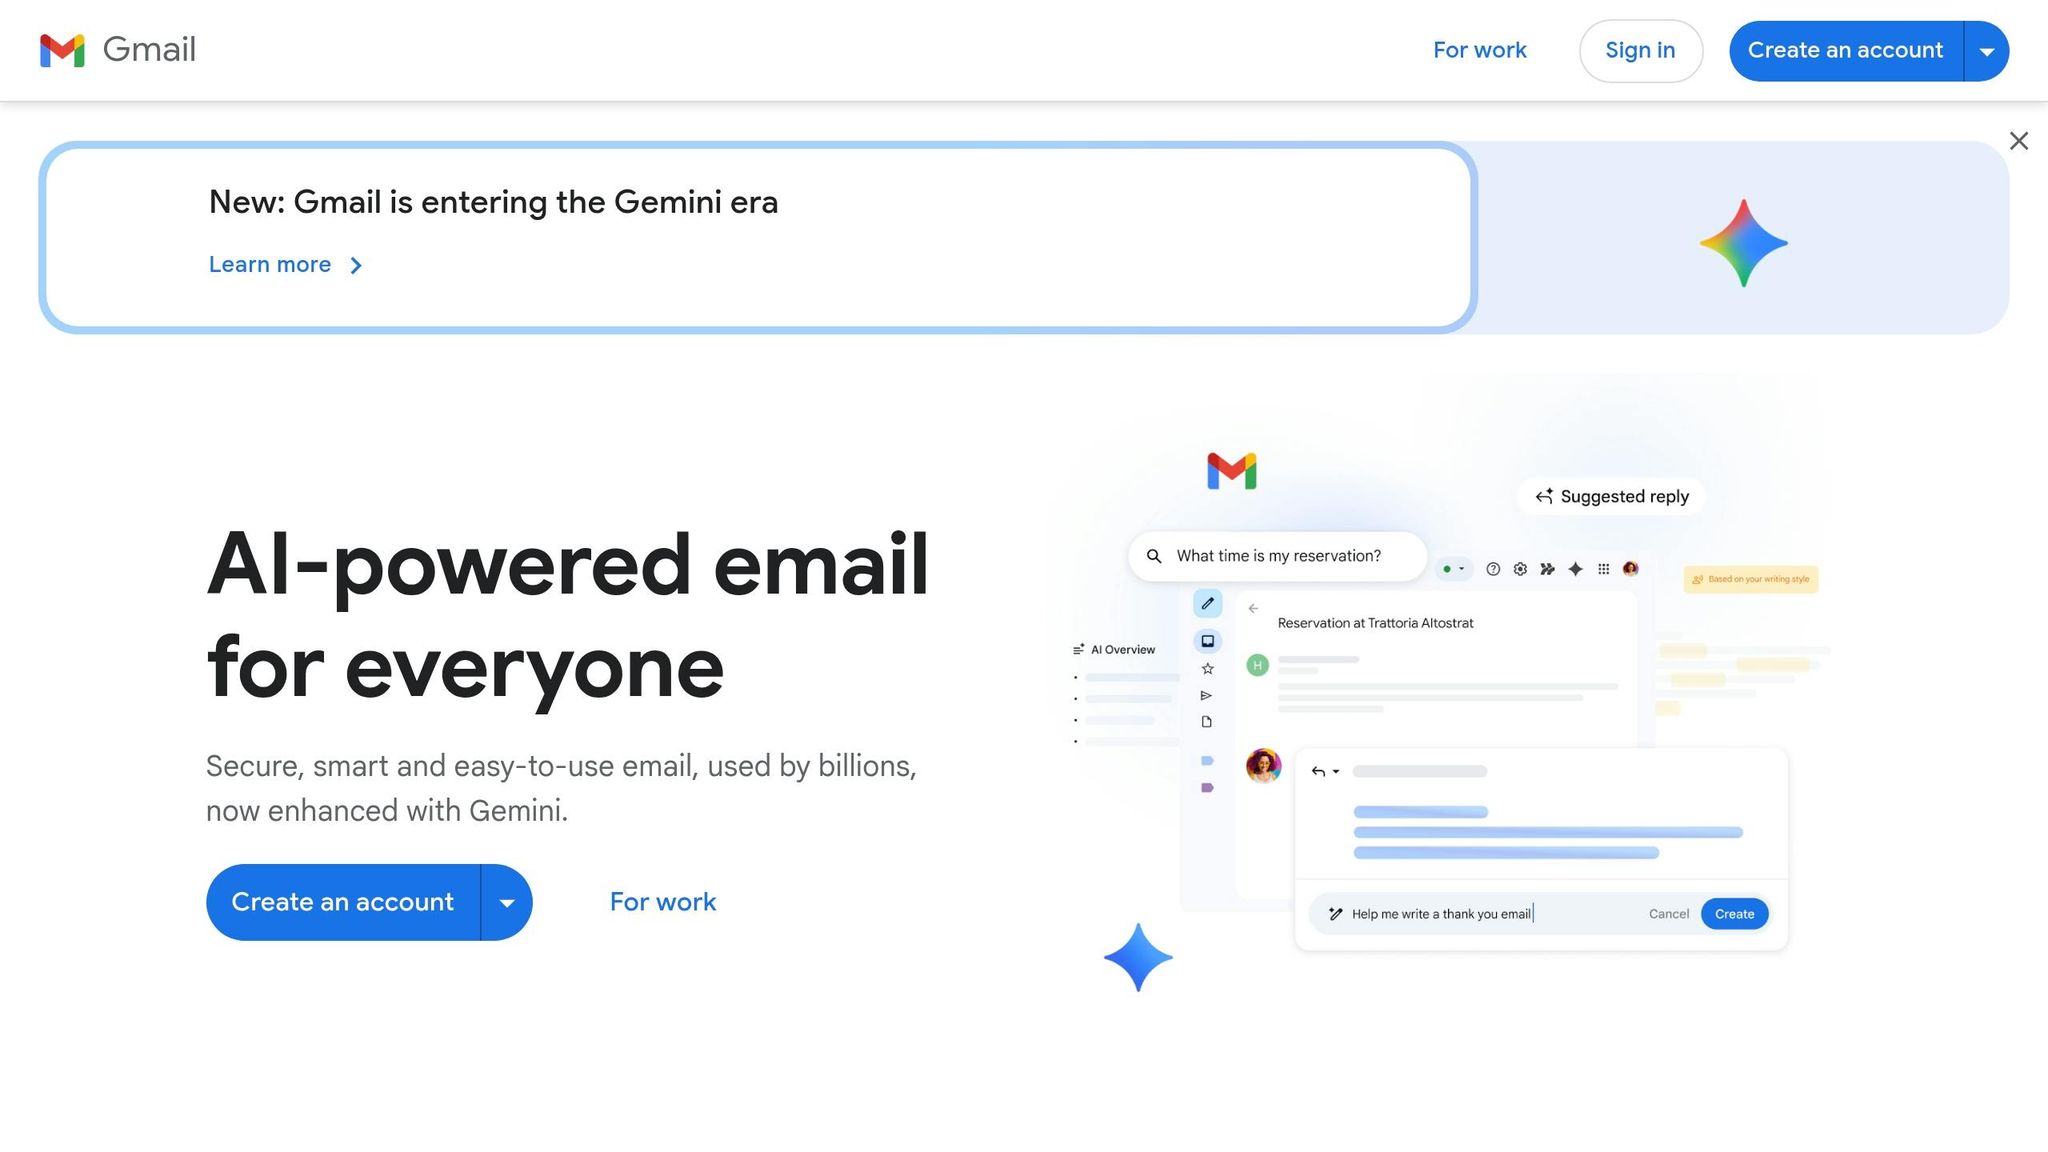
Use Gmail's Built-in Unsubscribe Feature
Gmail makes it simple to unsubscribe from emails you no longer want. Most promotional emails display a native Unsubscribe button at the top, right next to the sender's name. This feature works well for legitimate marketing emails and newsletters that adhere to standard guidelines. Here’s how you can use Gmail’s unsubscribe options effectively.
In mid-2025, Gmail introduced a Manage Subscriptions dashboard, offering a centralized way to view all recurring senders, organized by how frequently they email you. Michael Wright, an Email Deliverability Expert, highlighted its convenience:
The new Gmail Subscription Center makes it easy for users to see how many emails they're getting from each sender, sorted by highest volume. With a couple of clicks, you can unsubscribe without ever opening a message.
How to Find and Use the Unsubscribe Button
To use this feature, open any promotional email and look for the Unsubscribe link next to the sender's name. Clicking it will prompt a confirmation pop-up - just confirm your choice. In some cases, you might see a Go to website option instead, requiring you to finalize the process on the sender’s website.
If the button isn’t available, scroll to the footer of the email. Most legitimate senders include an unsubscribe link there, though it might take a few days to fully process your request.
Batch Unsubscribing with Search Filters
While Gmail doesn’t have a single button for mass unsubscribing, its search filters can help you deal with multiple unwanted emails at once.
Start by typing "unsubscribe" into the Gmail search bar and pressing Enter. This will pull up most promotional emails and newsletters. Next, click the Search options icon (the sliders) to refine the results. At the bottom of the options menu, click Create filter. Choose Delete it to block future emails and check the box for Also apply filter to matching conversations to remove existing ones. Hit Create filter to finalize your settings.
Laura Mae Martin, a Google Productivity Expert, shares how filters can help:
You can create filters so that certain emails 'skip your inbox' and won't appear as new emails. For example, if you get a lot of email newsletters, set up a filter with 'Has the words: unsubscribe' - now, those emails won't distract you, but you can search for them later.
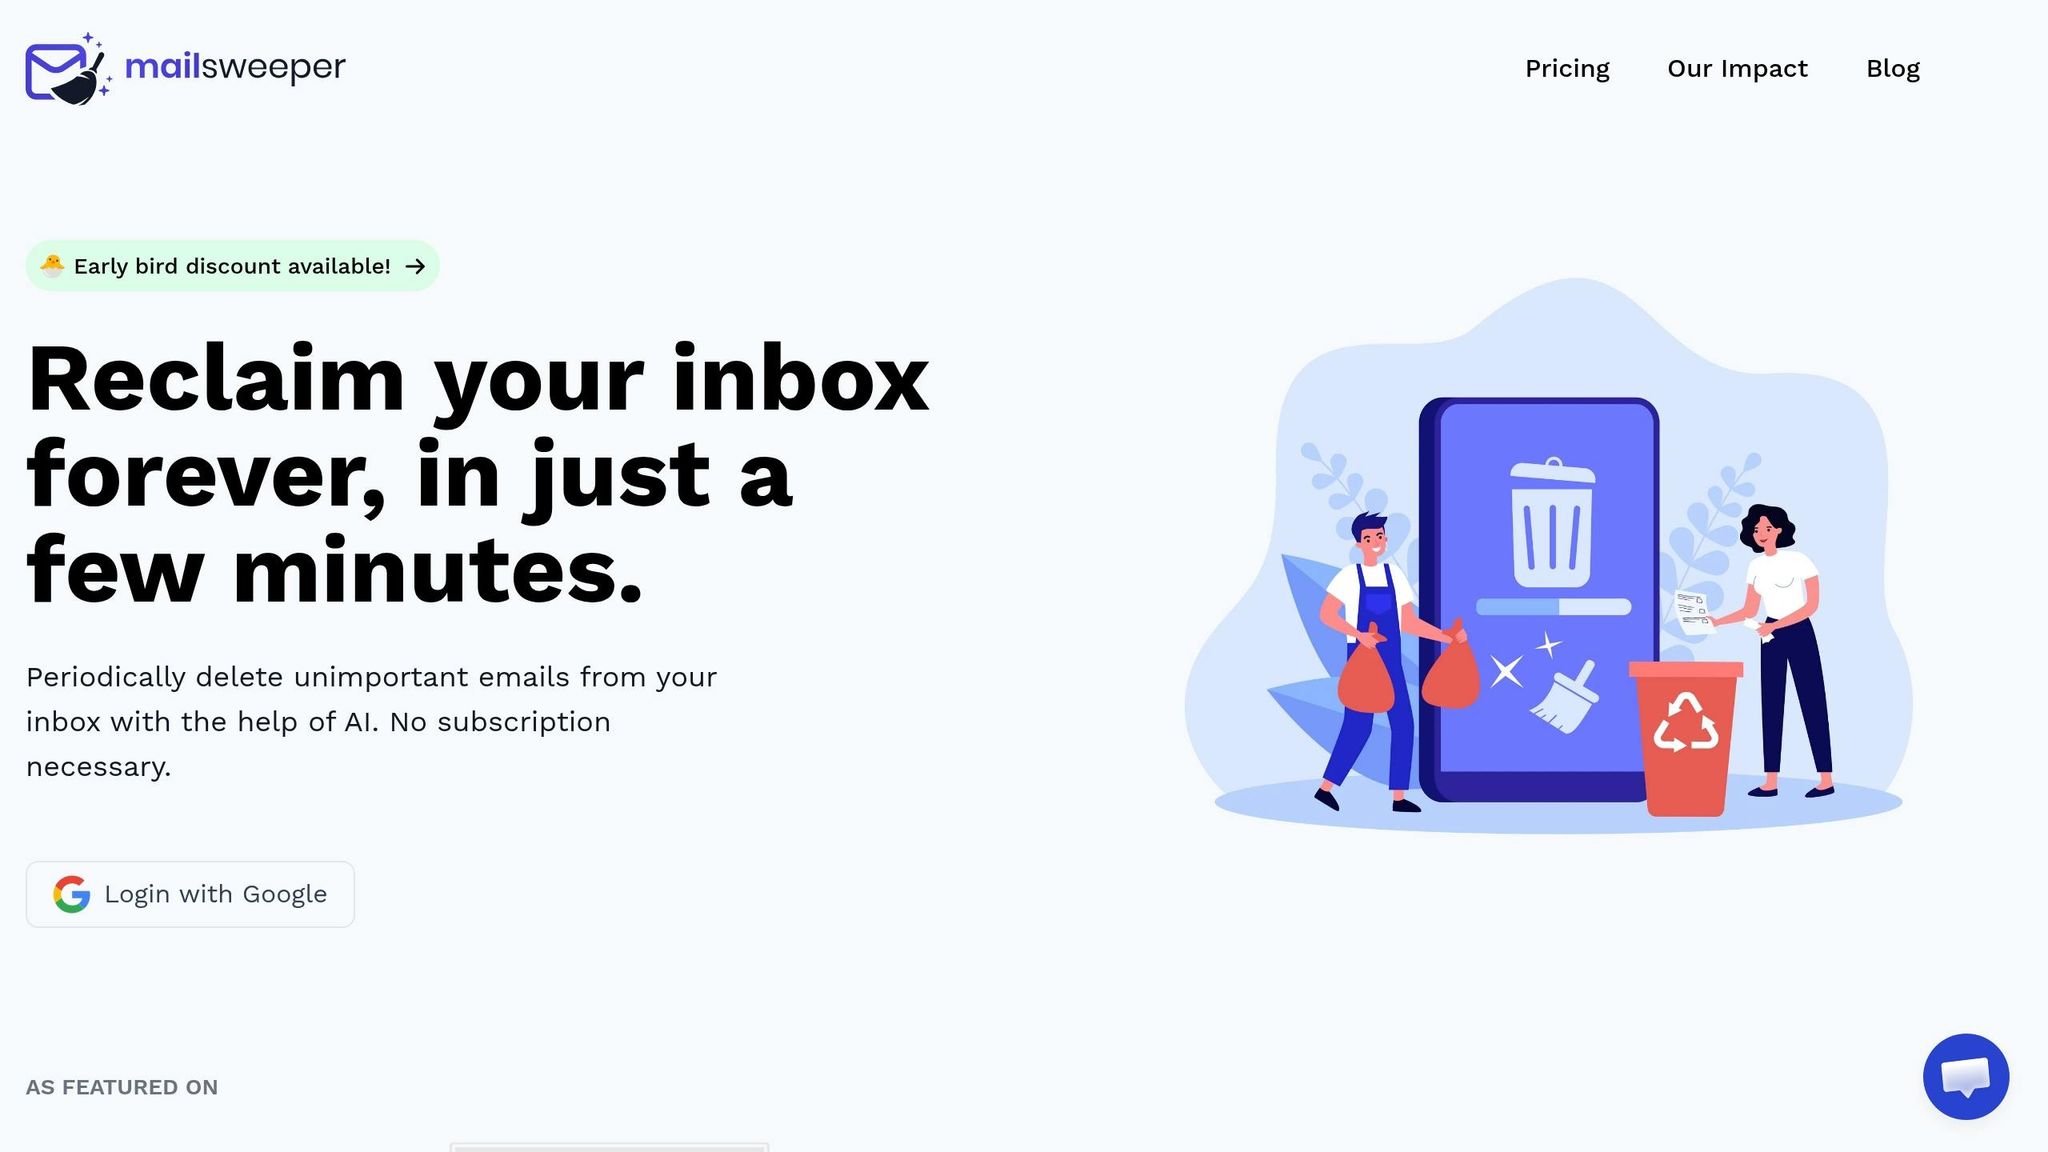
Automate Email Cleanup with MailSweeper
MailSweeper Pricing Plans Comparison
MailSweeper takes email organization to the next level by automating the removal of clutter. This tool uses AI to sift through your inbox and clean out hundreds of low-priority emails. It can identify and handle newsletters, shopping promotions, old calendar invites, and other non-essential messages, moving them to the trash after a set timeframe. Best of all, setup takes just three minutes.
How the Dustpan Feature Works
At the heart of MailSweeper is the Dustpan, a unique Gmail label designed to temporarily hold unimportant emails. Once installed, the tool scans your inbox using AI and labels messages like newsletters, notifications, and shopping deals. Crucially, it avoids tagging emails marked as starred, important, or in your primary inbox.
You can check the Dustpan label anytime in Gmail. If an email is incorrectly tagged, just remove the label - MailSweeper learns from these adjustments and gets better at sorting over time. After 30 or 90 days (your choice), emails still in the Dustpan are automatically moved to the trash, clearing storage space without requiring any extra effort.
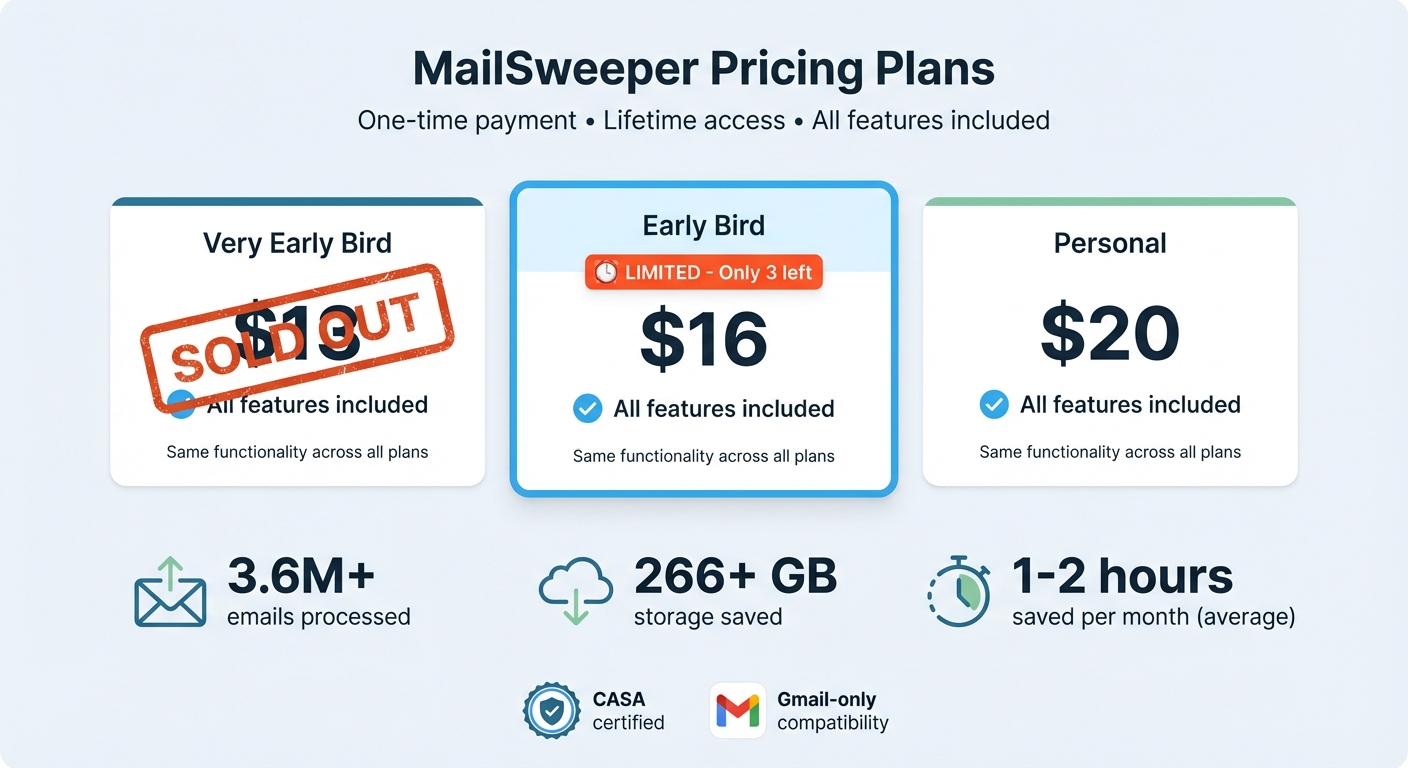
To date, MailSweeper has processed over 3.6 million emails, saving users more than 266 GB of storage space. On average, users report gaining back 1–2 hours per month. With the Dustpan organizing your inbox, you can set MailSweeper to handle automatic cleanup with ease.
Setting Up MailSweeper for Automatic Cleaning
Getting started is simple. Sign in with Google, make a one-time payment, and set your preferences for email cleanup. Once configured, MailSweeper will handle the rest, automatically deleting emails after your chosen time interval. During the first week, it’s a good idea to review the Dustpan label and remove it from any emails you want to keep.
MailSweeper is CASA certified, meaning it respects your privacy - it doesn’t read, store, or sell your email data. However, it’s only available for Gmail users. If you use a different email provider, manual cleanup will remain your best option.
MailSweeper Pricing and One-Time Plans
MailSweeper uses a one-time payment model, giving you lifetime access to all features without recurring fees. The functionality remains the same across all plans, with price differences based on promotional availability.
| Plan | Price | Availability |
|---|---|---|
| Very Early Bird | $13 | Sold Out |
| Early Bird | $16 | Limited (3 left) |
| Personal | $20 | Standard pricing |
Create Gmail Filters to Prevent Future Clutter
After tidying up your inbox, the next challenge is keeping it that way. Gmail filters can help you stay organized by automatically sorting, archiving, deleting, or labeling incoming emails based on specific criteria. Whether you want to target emails from certain senders, messages with particular keywords, or newsletters containing "unsubscribe", filters work quietly in the background to maintain a clutter-free inbox. They’re a great way to make sure your cleanup efforts don’t go to waste. Here’s how you can set them up in Gmail.
How to Set Up Filters in Gmail
Filters can only be created on a computer since the Gmail mobile app doesn’t currently support this feature. To get started, click the Show search options icon in the search bar at the top of your inbox. From there, you can define your criteria - like entering an email address in the "From" field or typing keywords such as "promotion" in the "Has the words" field. If you’d like to preview the emails that match, click Search. Once satisfied, click Create filter.
A menu will appear with options like "Skip the Inbox (Archive it)", "Delete it", "Mark as read", or "Apply the label." For example, if you want to keep newsletters but don’t want them in your primary inbox, choose "Skip the Inbox" and apply a label like "Newsletters." To organize existing emails that match your filter, check the box labeled "Also apply filter to matching conversations" before finalizing by clicking Create filter.
You can also create filters directly from an email. Select the checkbox next to a message, click More (the three vertical dots), and choose Filter messages like these. Add any additional criteria before completing the filter setup.
Best Practices for Filter Management
To avoid overwhelming yourself with too many filters, try combining similar rules into one. For instance, instead of creating individual filters for multiple newsletters, group them together by entering multiple email addresses in the "From" field, separated by "OR" (e.g., news@site1.com OR updates@site2.com). You can even filter all emails from a company by using just the domain, like @company.com.
Once your filters are up and running, it’s important to keep them in check. Head to Settings > See all settings > Filters and Blocked Addresses to review your existing filters. Remove outdated ones that no longer serve a purpose or tweak filters that aren’t working as expected. Gmail also lets you export your filters as an .xml file, which is handy for backups or if you want to apply the same rules to another Gmail account.
Conclusion
Clearing out your inbox doesn’t have to be overwhelming. You can start by using Gmail’s unsubscribe feature to quickly cut ties with senders that clutter your inbox - especially those high-volume ones that seem to dominate your email feed. Follow that up by using MailSweeper’s Dustpan to automatically clear out unimportant messages, saving you from tedious manual deletions. To keep things tidy moving forward, set up Gmail filters to stop unwanted emails from ever landing in your primary inbox.
Consistency is key here. Schedule quarterly check-ins to review your subscriptions and fine-tune your filters. Keep the emails that bring value, let go of the ones that don’t, and focus on what truly matters.
FAQs
How do I unsubscribe safely from suspicious emails?
To unsubscribe safely, steer clear of clicking links in emails that seem suspicious. These could be phishing scams or carry malware. A safer approach is to mark such emails as spam or junk in your email provider, which helps filter out similar messages in the future. If your email service offers options to block or report the sender, make use of those features. Be cautious about using third-party tools for handling suspicious emails unless you're confident in their safety.
Will Gmail filters remove emails I still need?
Gmail filters are a handy tool for keeping your inbox organized. They can automatically delete or archive emails based on specific criteria, such as the sender or certain keywords. That said, they aren’t a perfect solution for stopping all subscription emails from landing in your inbox - unless you create detailed rules for each case. Plus, filters can’t tell the difference between emails you want and those you don’t. For better results, consider using Gmail’s unsubscribe option or managing your subscriptions directly.
Can MailSweeper delete the wrong emails?
MailSweeper doesn’t automatically delete your emails. Instead, it’s designed to help you sort and manage your inbox more efficiently. The decision to delete emails is entirely up to you, based on the tools and options you decide to use. You stay in charge of what stays and what goes.
More free Gmail tools.
Pair these together for a full inbox reset.
Bulk Unsubscribe from Gmail
See the senders flooding your inbox, ranked by volume — your shortlist for unsubscribes.
Open toolMass Delete Gmail Emails
Build a deletion plan by sender, date, label, or all-unread — with the exact Gmail search to run.
Open toolFind Large Emails in Gmail
Pick a size and we build the exact Gmail search to find your biggest emails — then open it in one click.
Open toolGmail Storage Cleanup
Move the slider to your current Gmail usage to see exactly what to delete to free space.
Open toolInbox Zero Score
Rate your inbox health on a 0–100 scale and see the weekly hours your inbox is costing you.
Open tool