Email Management
Ultimate Guide to Periodic Email Archiving
Practical guide to Gmail email archiving: automate with filters, set schedules, apply labels, and reduce storage using AI cleanup tools.

Ultimate Guide to Periodic Email Archiving
Periodic email archiving is a simple way to manage your Gmail inbox, reduce digital clutter, and avoid hitting the 15 GB storage limit shared across emails, photos, and other data. Instead of deleting emails permanently, archiving moves them to Gmail's "All Mail" label, keeping them searchable and retrievable anytime. Here's a quick breakdown:
- Why Archive? Keeps your inbox clean, ensures important emails are accessible, and prevents you from running out of Gmail storage.
- Key Tip: Archive emails after 30 days of inactivity and delete them after 60-90 days to free up space.
- Automation: Use Gmail filters to auto-archive emails based on sender, keywords, or date.
- Organize: Apply labels like "Receipts" or "Work" to make archived emails easier to find.
- Tools: Consider AI tools like MailSweeper to automate cleanup and save storage costs.
Archiving is fast, reversible, and helps maintain a clutter-free inbox. Read on to learn how to set up filters, create an archiving schedule, and manage your storage effectively.
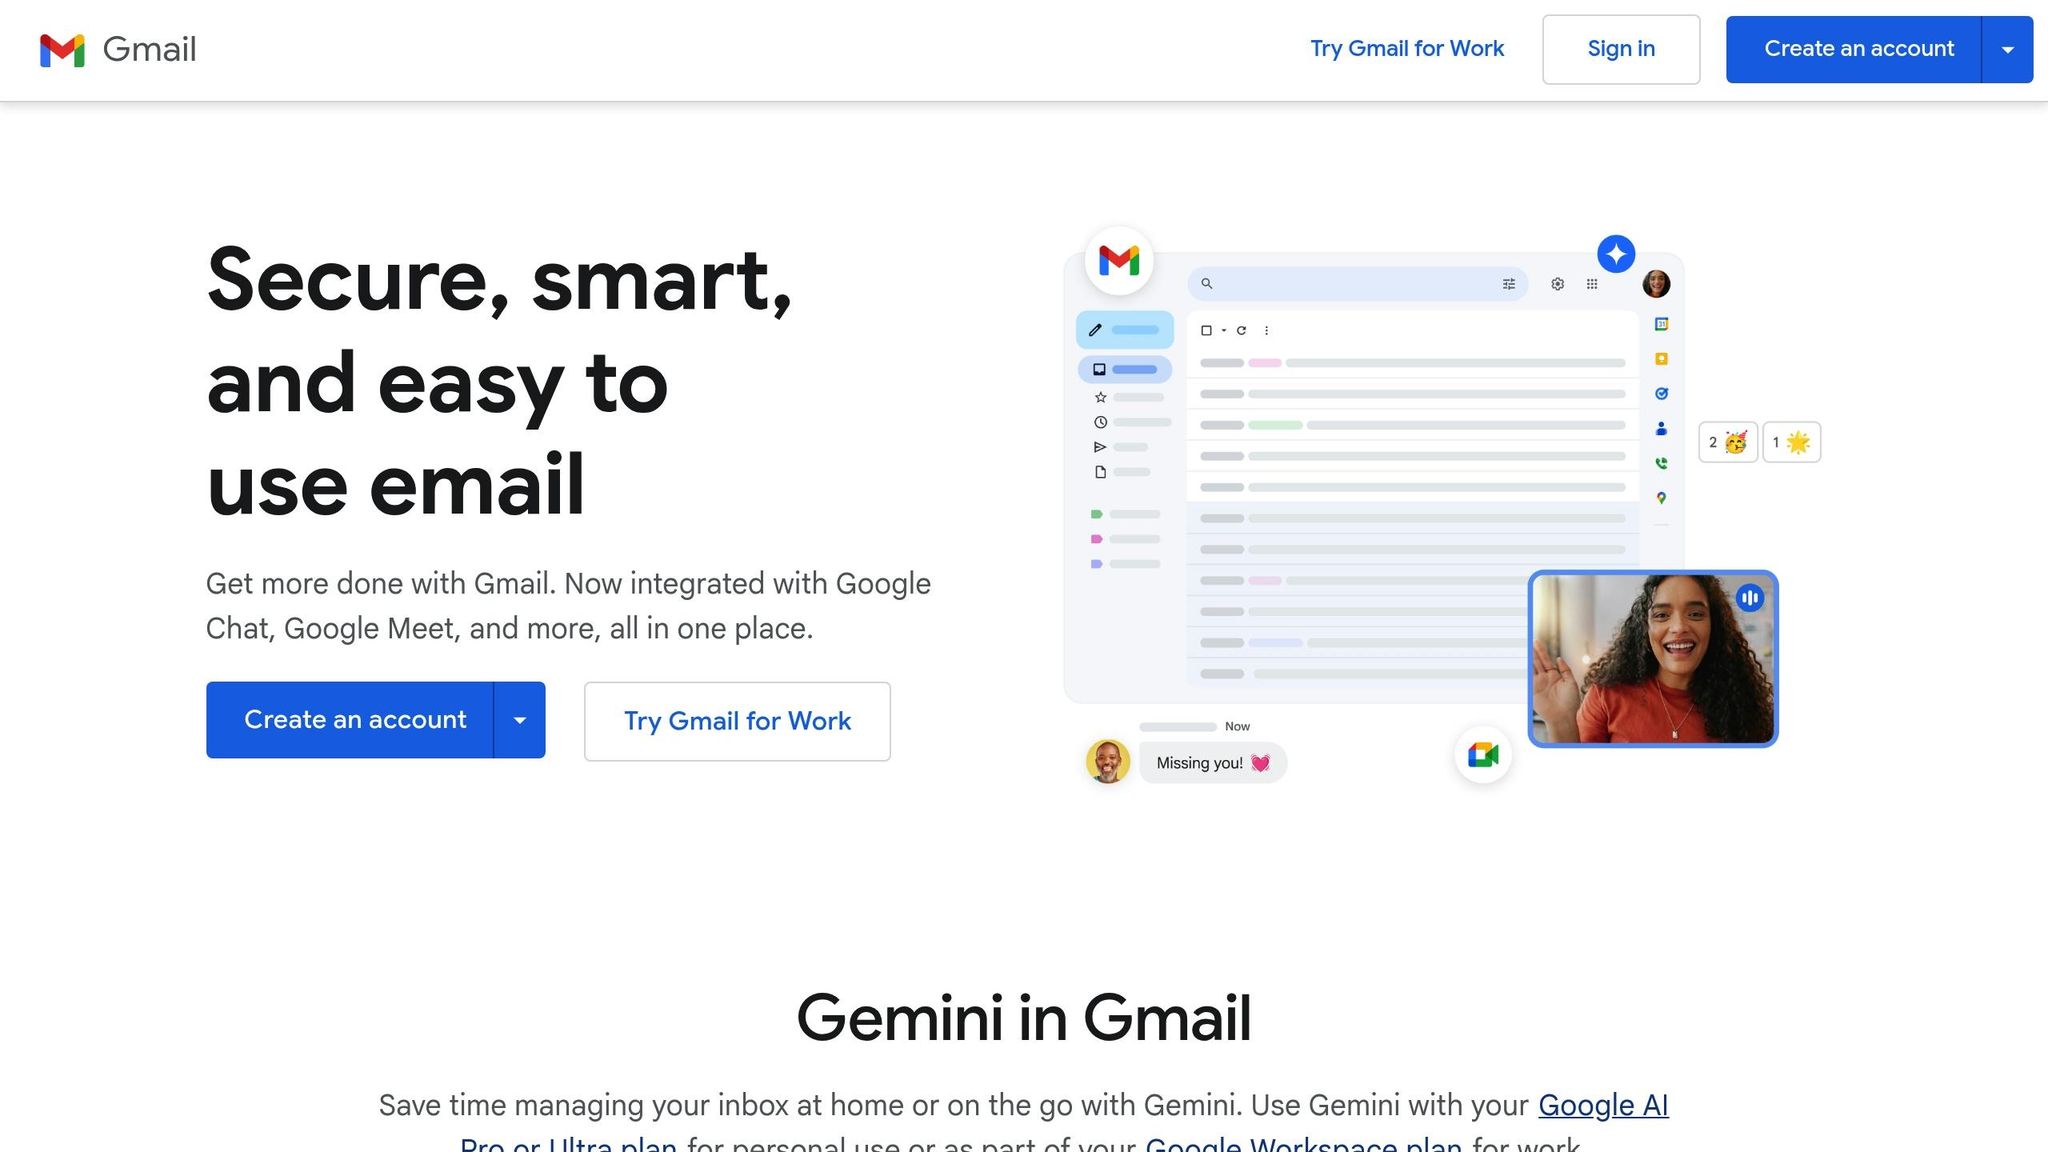
Gmail Archive Explained – Keep Emails Without Clutter (2025)
Email Archiving Basics
Email archiving in Gmail is a simple yet effective way to declutter your inbox while keeping messages permanently stored in your account. Think of it like tucking papers into a filing cabinet - they’re out of sight but still accessible whenever you need them.
The key difference between archiving and deleting lies in how emails are stored and accessed. Archiving ensures emails stay searchable and available indefinitely. Deleting, on the other hand, sends emails to the Trash folder, where they are permanently erased after 30 days without any option for recovery.
How Gmail Archiving Works
Gmail’s archiving feature is more straightforward than you might think. When you archive an email, it doesn’t move to a dedicated "Archive" folder. Instead, it’s placed under the "All Mail" label, a central location where all your emails - archived or not - are stored.
This design allows archived emails to remain fully integrated into your Gmail account. You can access them by clicking on the "All Mail" label in the sidebar or by using Gmail’s robust search tool. Whether you search by sender, subject, keywords, or date, archived emails will appear alongside other messages in the results.
On mobile, archiving is even easier - just tap the Archive button, and the email is instantly moved to "All Mail", ready for retrieval later.
One of the best aspects of archiving is that it’s completely reversible. If you accidentally archive an email or decide you need it back in your inbox, you can restore it at any time. There’s no time limit, no countdown, and no risk of losing the email permanently.
Archiving vs. Deleting Emails
Deciding whether to archive or delete an email comes down to one question: will you ever need it again? The rule of thumb is simple: archive emails you might reference later, and delete emails you’re certain you’ll never need.
Here’s a quick comparison of the two actions:
| Action | What Happens | Reversibility | Storage Impact | Best For |
|---|---|---|---|---|
| Archiving | Removed from inbox, stored in All Mail | Fully reversible | Does not free up storage | Emails you might need in the future |
| Deleting | Moved to Trash, deleted after 30 days | Permanent after 30 days | Frees up storage after 30 days | Emails you’re sure you’ll never need |
Gmail provides 15 GB of free storage, shared across emails, photos, and other data. If you’re running low on space, deleting emails is the only way to free up storage. Archiving keeps emails accessible but doesn’t reduce storage usage.
For those who want a clean inbox without risking accidental data loss, a two-step approach can work well: archive emails after 30 days of inactivity, then delete them after another 30 to 60 days. This method ensures you retain important messages long enough to decide if they’re worth keeping while still allowing for eventual cleanup. This approach is especially helpful for business users juggling organization with data retention needs.
Archiving also boosts productivity. A clutter-free inbox makes it easier to focus on current tasks and actionable emails without being distracted by older messages. At the same time, your email history remains intact and easily searchable.
In short, archiving gives you the best of both worlds: a tidy inbox without the stress of losing important emails. Deleting, however, should be reserved for emails you’re absolutely sure you’ll never need again.
Next, we’ll explore how to automate Gmail archiving for effortless inbox management. Stay tuned!
Setting Up Automatic Archiving in Gmail
Automating email archiving in Gmail can save you time and keep your inbox clutter-free. By using Gmail filters, you can set up rules to archive emails that meet specific criteria - like the sender, subject line, or certain keywords. Once these filters are in place, Gmail takes care of the rest, archiving emails that match your rules without any extra effort on your part. Ready to get started? Here's how to create filters for automatic archiving.
Creating Gmail Filters for Auto-Archiving
To set up a filter for auto-archiving, start by opening Gmail and using the search bar. Enter the criteria you want to use for filtering, such as a specific sender or keyword. Once you've defined your search parameters, click the small arrow in the search bar or select the "Create filter" option. Gmail will then show you a list of actions to apply to emails that match your criteria. Select the option "Skip the Inbox (Archive it)" to automatically archive these emails. You can even apply the filter to existing emails that fit your criteria, not just future ones.
For a more structured approach, consider combining auto-archiving with time-based actions. For example, you could create a filter that archives emails from your bank after 30 days to keep your inbox tidy while still retaining important information. Then, set up a second filter to delete those emails permanently after 90 days. This layered method ensures your inbox stays organized without losing track of essential emails.
Using Labels to Organize Archived Emails
Once your filters are archiving emails, labels can help you keep everything organized. Labels make it easier to retrieve archived emails when you need them. Before setting up your filters, take some time to create a clear labeling system that aligns with how you naturally organize your emails. For example, you might create labels like "Receipts", "Work Projects", or "Travel Information." When setting up a filter, you can apply a label to emails before archiving them, ensuring they’re categorized properly. For instance, you could label emails from your accounting team as "Finance" or promotional emails as "Marketing."
This approach turns your archive into an organized system rather than a chaotic pile of emails. When you need to find something, you can go straight to the relevant label instead of sifting through a long list of messages. To keep things consistent, establish a naming convention for your labels - whether it's by project, client, email type, or time period - and stick to it across all your filters.
It’s also a good idea to set a quarterly reminder to review your archived emails and tidy up your labels. Regular maintenance, like deleting unnecessary messages and refining your labeling system, helps you manage Gmail storage and keeps your archive neat as it grows.
Creating Your Archiving Schedule
Once you've set up your filters and labels, the next step is to establish a consistent archiving routine. This habit helps keep your inbox free from recurring clutter. The trick is to find a schedule that matches your email volume and work habits, making archiving a seamless part of your daily workflow.
How Often to Archive Emails
Your email volume plays a big role in determining how often you should archive. Here's a quick guide based on how many emails you typically receive each day:
- 50-100 emails daily: A weekly archiving schedule is ideal. Dedicate time every Friday afternoon or Monday morning to clear out messages you've already addressed.
- 20-50 emails daily: A bi-weekly or monthly routine works well without requiring constant attention.
- Fewer than 20 emails daily: A quarterly schedule should be enough to stay organized.
Weekly archiving is quicker and less overwhelming because you’re dealing with smaller batches. On the other hand, monthly archiving works for those with strong email management habits, but it can lead to an inbox cluttered with older messages that distract from current tasks. Ideally, a healthy inbox contains 50-200 emails, depending on your work style. If your inbox regularly exceeds 500 emails, it’s a sign to increase your archiving frequency.
For added peace of mind, consider a two-stage system: archive emails after 30 days, then set up filters to delete them permanently after 90 days. This approach gives you a buffer period to retrieve important information before it's gone for good.
Adding Archiving to Your Daily Routine
The easiest way to stay on top of archiving is to handle it as you process your emails. After responding to or reviewing a message, archive it immediately. This incremental method is far less daunting than tackling hundreds of emails in one go.
To make this process even smoother, enable Gmail's hover actions for one-click archiving. Keyboard shortcuts like Command + Return on Mac or Ctrl + Enter on Windows can also speed things up.
Set aside 5-10 minutes at the end of each workday to archive non-urgent emails that have piled up throughout the day. Doing this ensures you start each morning with a clean slate. You can also schedule specific archiving sessions - for instance, every Friday at 4:00 PM or the first Monday of each month. Use calendar reminders to stay consistent, and track the number of emails you archive to fine-tune your schedule.
If you find yourself archiving more than 200 emails weekly, it might be time to archive more frequently or refine your filters. Conversely, if you're only archiving 10-20 emails a month, you could switch to a quarterly schedule.
Keep an eye on your Gmail storage usage to ensure your system is working. Check your storage status in Gmail settings and adjust your archiving habits if you’re nearing the limit. Deleting emails you no longer need can free up space. Set a quarterly reminder to review archived emails and remove anything unnecessary to keep your archive manageable over time.
Start with a realistic schedule that you can stick to. A weekly 10-minute routine is much easier to maintain than a monthly hour-long session that feels like a burden. Consistency is the key to keeping your inbox under control.
sbb-itb-34b9fd2
Managing Your Email Archive Long-Term
Archiving emails is just the first step. The real challenge lies in keeping that archive organized and easy to access over time. Without regular upkeep, your archived emails can become just as cluttered as your inbox. A well-maintained archive not only saves time when retrieving emails but also helps manage storage effectively.
Keeping Your Labels Consistent
A consistent labeling system is what separates a functional archive from a chaotic mess. By creating specific labels like "Receipts", "Work Projects", or "Travel Information", you can keep everything organized and easy to find. The trick is to establish these categories before you start archiving on a large scale, and then stick to them.
Think of labels as the drawers in a digital filing cabinet. Gmail’s filtering tools make this even easier by allowing you to automate label assignments based on details like the sender, subject, or content. The key to long-term success is maintaining these labels consistently. Over time, your email habits may change, so it’s worth reviewing your labeling system periodically to ensure it still fits your needs and makes retrieval quick and painless.
Monitoring Storage and Deleting Old Emails
Running out of Gmail storage can disrupt your communication by preventing you from sending or receiving new emails. To avoid this, it’s essential to monitor your storage usage regularly.
You can check your storage status in your account settings, which shows how much of the 15 GB limit you’re using. Setting a personal threshold - like 70% - can signal when it’s time to clean up. Scheduling a quarterly review of your archived emails can help you delete what’s no longer needed without feeling overwhelmed.
Start by focusing on emails that take up the most space. Large attachments, such as photos, videos, or presentations, are often the culprits. Gmail’s search operators, like "size:5m" or "size:10m", let you quickly locate these space-hogging emails. If the attachments are saved elsewhere, you can delete these emails to free up room.
For a more hands-off approach, tools like MailSweeper can automate this process. MailSweeper uses AI to identify and delete unimportant emails, helping users stay within Gmail’s free storage limit. According to MailSweeper, the tool has removed nearly 3 million emails and saved 213 GB of storage space so far. Emails marked as important, starred, or stored in the primary inbox are protected by default.
"Many of our users have been able to downgrade email storage to a free tier!" – MailSweeper
To measure how well your archiving strategy is working, keep an eye on a few metrics. Monitor your Gmail storage usage and aim to stay below 80% of your quota. Compare the number of emails in your inbox to those in your "All Mail" folder to ensure archiving is reducing clutter. Test your retrieval process occasionally by searching for emails from various time periods. If you encounter warnings about storage, an inbox overflowing with more than 500–1,000 emails, or slow search results, it might be time to tweak your system.
How MailSweeper Improves Email Archiving
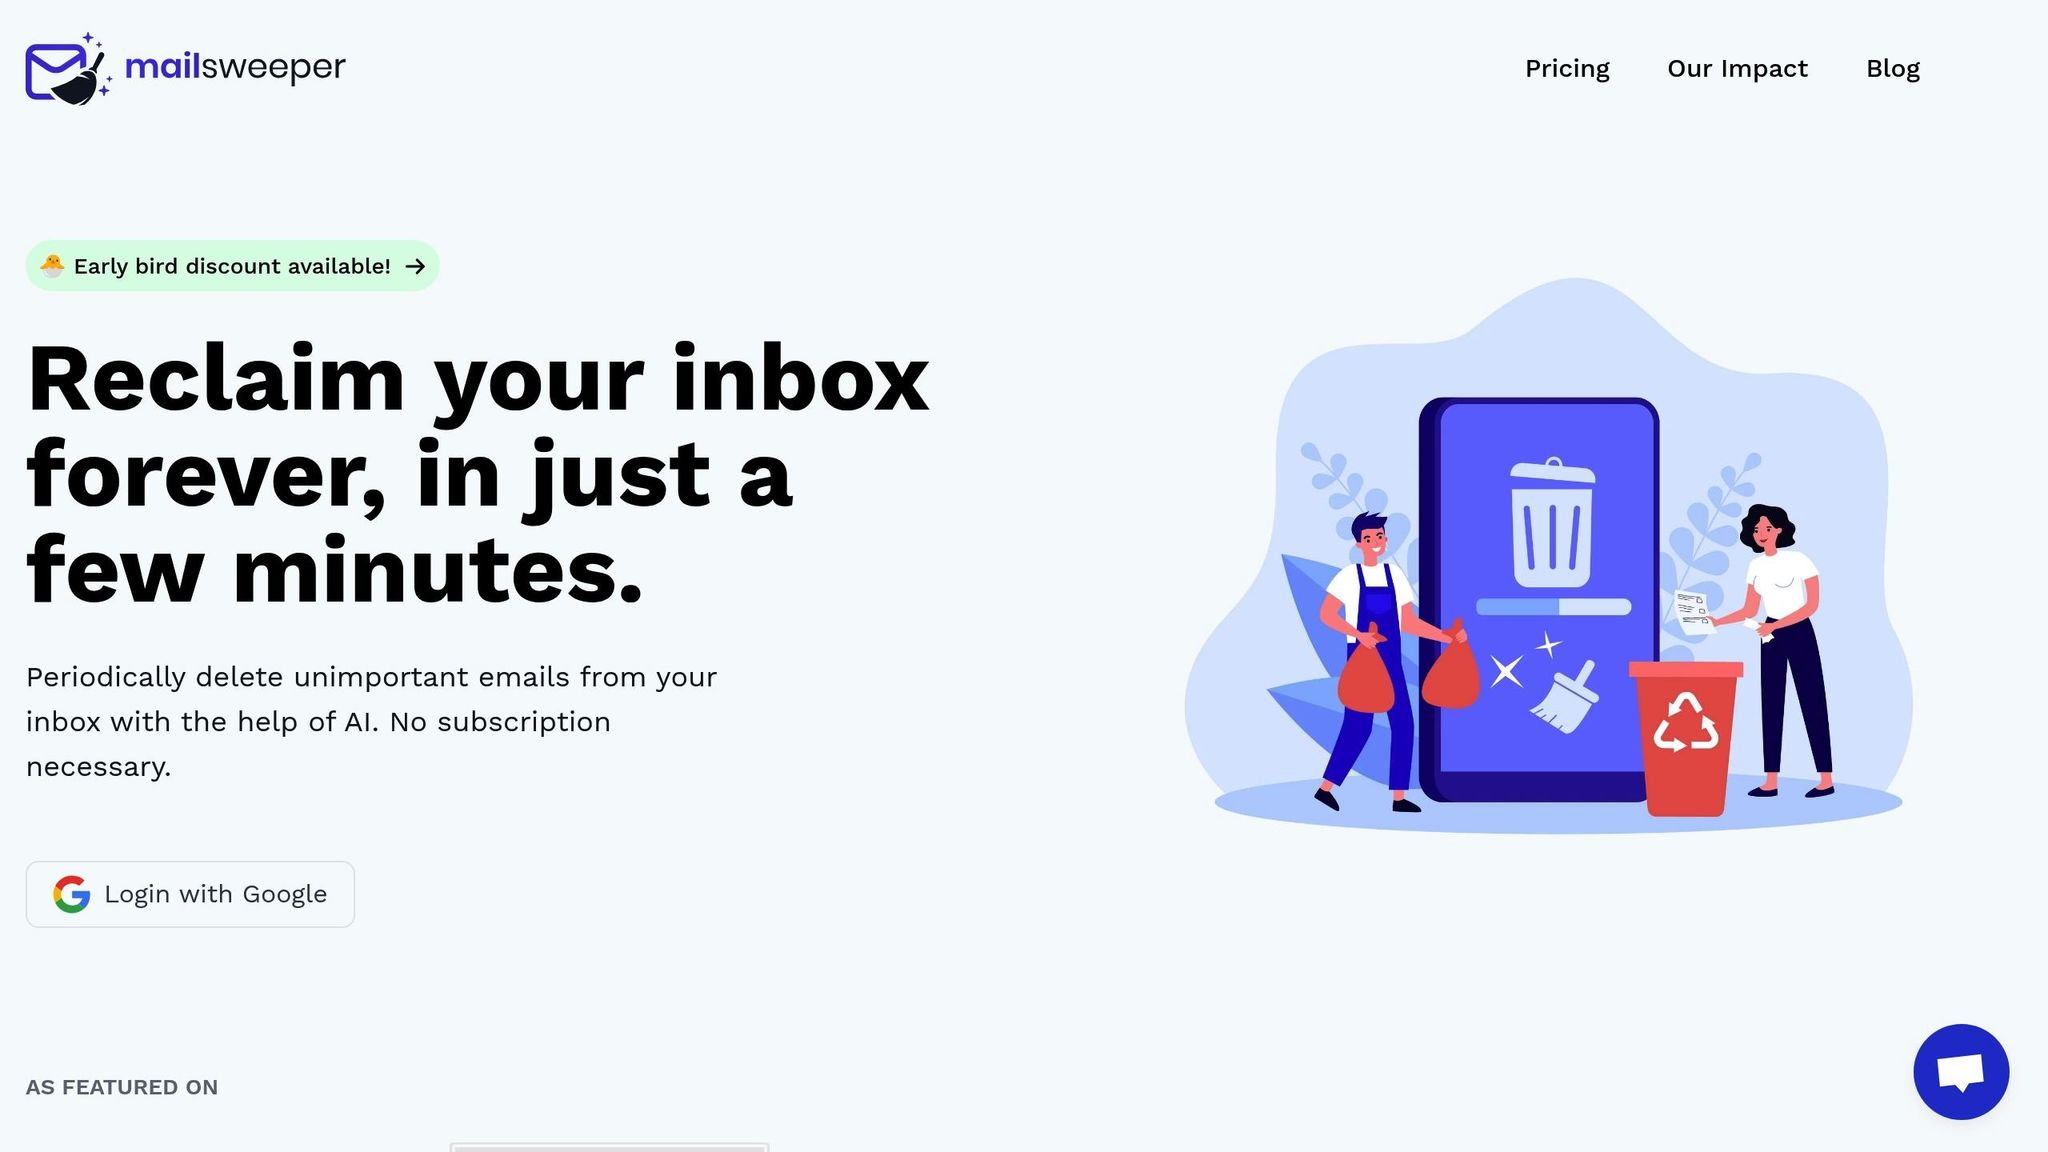
Gmail's built-in archiving tools are useful, but they can be time-consuming. You still need to manually set up filters, review archived emails, and decide what to delete. That’s where MailSweeper steps in, automating the cleanup process with AI and working alongside Gmail to make email management effortless.
MailSweeper integrates directly with Gmail, using AI to identify and periodically delete unimportant emails. Unlike manual strategies that require you to create rules and remember to clean up regularly, MailSweeper operates quietly in the background. Setup is simple - sign in with your Google account once, and the tool takes care of the rest.
This automation not only makes managing your inbox easier but also saves money. MailSweeper charges a one-time fee ($20 for the Personal plan or $16 for Early Bird users), compared to Gmail's storage upgrade, which costs $1.99 per month (about $23.88 annually). Over five years, Gmail storage upgrades can add up to almost $120, whereas MailSweeper provides a permanent solution for a single payment.
The results speak for themselves. MailSweeper has already processed over 2,962,250 emails, showing just how effective it is at reducing inbox clutter.
The Dustpan Feature Explained
At the heart of MailSweeper’s automation is the Dustpan feature. This tool uses AI to collect unimportant emails, applying a "🧹Dustpan" label in your Gmail account. The Dustpan identifies and gathers emails based on sender, content relevance, and your interaction history. Think promotional emails, newsletters, and notifications - stuff that clutters your inbox but doesn’t need to stick around.
You’re still in control. MailSweeper lets you customize which types of emails get swept into the Dustpan. It also ensures important emails - like starred messages, emails marked as important, or those in your primary inbox - are left untouched. And if something ends up in the Dustpan by mistake, you can manually remove the label to keep it safe.
The Dustpan doesn’t stop at sorting. It works with Gmail’s labels and filters to periodically move these emails to the trash, typically after 30 or 90 days. This creates a buffer period, similar to Gmail's archive-then-delete system, but without the hassle of setting up filters or remembering to clean up on your own.
"MailSweeper will periodically move emails from your 🧹Dustpan to the trash to minimize your email storage costs by helping you stay under the size limit for free Gmail storage." – MailSweeper
Reducing Clutter and Storage Costs
MailSweeper’s biggest perk? It clears out digital clutter without you lifting a finger. Instead of spending time reviewing your inbox or scheduling cleanups, MailSweeper works quietly in the background. This not only saves time but also takes the stress out of managing your inbox.
Another major win is storage cost reduction. Gmail users often hit the 15 GB free storage limit, which can block new emails from being sent or received. MailSweeper helps prevent this by automatically deleting unnecessary emails before they pile up.
"If you're paying for extra email storage, then yes! Many of our users have been able to downgrade email storage to a free tier!" – MailSweeper FAQ
"Most of our users are able to save GBs of data." – MailSweeper FAQ
For those already paying for extra storage, MailSweeper could eliminate that expense entirely. With its one-time $20 fee, it’s a cost-effective alternative to years of monthly storage payments.
There’s also an environmental benefit. MailSweeper reports a carbon reduction of 97.05 kgCO₂e, thanks to the energy saved by storing fewer emails on Google’s servers. While modest, it’s a meaningful reminder that reducing digital clutter can have a positive impact beyond your inbox.
On top of that, MailSweeper is CASA certified, meaning it meets strict security standards. Your email data isn’t read, stored, or sold, giving you peace of mind about privacy when using a third-party tool.
MailSweeper fits seamlessly into your Gmail workflow. You can still use Gmail’s archiving and labeling features for organizing important emails, while MailSweeper handles the low-priority ones. The result? A streamlined inbox, reduced storage costs, and less time spent on email management - all without losing anything important.
Conclusion
Periodic email archiving can transform how you manage Gmail, helping you keep your inbox focused on what matters most while ensuring everything else stays accessible when needed. By decluttering your inbox, you reduce mental strain and stay within Gmail's 15 GB free storage limit.
A practical approach, like the archive-then-delete strategy, works wonders. For example, you might archive emails after 30 days and delete them after an additional 30–60 days. Business users may prefer to extend this deletion window to 6–12 months, while personal users might opt for shorter timeframes. The key is flexibility - adjust these timelines to suit your needs.
Consistency is the real game-changer here. Start by enabling the "Send & Archive" feature to automatically archive sent emails. Dedicate 10–15 minutes each week to review and archive resolved conversations, and set quarterly reminders to audit and refine your system. Begin with low-stakes categories like promotional emails or old notifications, and expand your rules gradually.
If you're dealing with a high volume of emails, tools like MailSweeper can be a lifesaver. For a one-time fee, it automates email cleanup, helping users collectively save an impressive 213 GB of storage space. Many have even downgraded from paid storage plans back to Gmail's free tier - a clear win for both organization and cost savings.
Action steps to get started:
- Check your current inbox size and Gmail storage usage today.
- Create 2–3 labels for your most common email categories this week.
- Set up automated filters for newsletters and promotional emails within seven days.
- Establish a weekly archiving routine.
- Schedule your first quarterly review 90 days from now.
FAQs
What’s the difference between archiving and deleting emails in Gmail when it comes to storage?
Managing your Gmail storage effectively often comes down to knowing the difference between archiving and deleting emails. When you archive an email, it disappears from your inbox but remains in your account, so you can retrieve it anytime. Deleting an email, however, sends it to the Trash, where it stays for 30 days before being permanently erased, freeing up space in your account.
To make this process easier, tools like MailSweeper can be a game-changer. They help you identify and clear out unimportant emails regularly, saving you storage space and keeping your inbox clutter-free with minimal effort.
How can I set up automatic email archiving in Gmail using filters?
To set up automatic email archiving in Gmail, you’ll need to create filters tailored to the emails you want to archive. Start by opening Gmail, clicking the gear icon, and selecting See all settings. Navigate to the Filters and Blocked Addresses tab and choose Create a new filter.
Next, define the criteria for your filter - this could include the sender, subject line, or specific keywords. Once set, click Create filter and select the option Skip the Inbox (Archive it). This will automatically archive emails that match your criteria, keeping your inbox clutter-free while still storing those messages in your All Mail folder for easy access.
If you’re looking for even more efficiency, tools like MailSweeper can take email management to the next level, saving you time and helping you maintain a cleaner digital workspace.
How can I keep my Gmail organized and avoid running out of storage space?
Keeping your Gmail inbox tidy can feel like a never-ending task, but tools like MailSweeper make it much easier. This AI-powered tool identifies emails you don’t need and clears them out regularly, helping you avoid storage headaches and keep things running smoothly.
With a cleaner, more organized inbox, you’ll save time and skip the frustration of sorting through clutter manually. Plus, navigating your Gmail becomes faster and more efficient - no more digging through piles of unnecessary emails.
More free Gmail tools.
Pair these together for a full inbox reset.
Bulk Unsubscribe from Gmail
See the senders flooding your inbox, ranked by volume — your shortlist for unsubscribes.
Open toolMass Delete Gmail Emails
Build a deletion plan by sender, date, label, or all-unread — with the exact Gmail search to run.
Open toolFind Large Emails in Gmail
Pick a size and we build the exact Gmail search to find your biggest emails — then open it in one click.
Open toolGmail Storage Cleanup
Move the slider to your current Gmail usage to see exactly what to delete to free space.
Open toolInbox Zero Score
Rate your inbox health on a 0–100 scale and see the weekly hours your inbox is costing you.
Open tool