Email Management
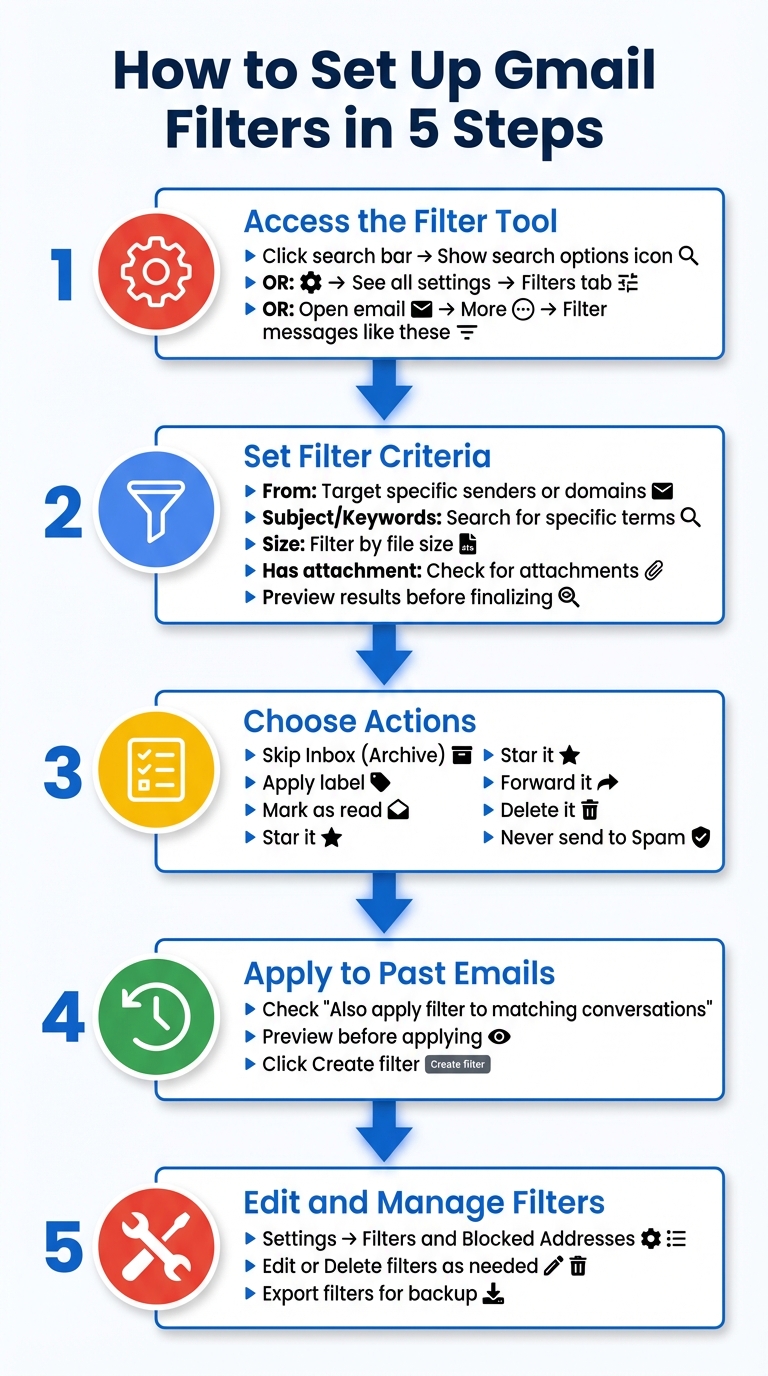
How to Set Up Gmail Filters in 5 Steps
Create Gmail filters in five clear steps: set criteria, choose actions, apply to past emails, and manage filters to keep your inbox organized.
How to Set Up Gmail Filters in 5 Steps
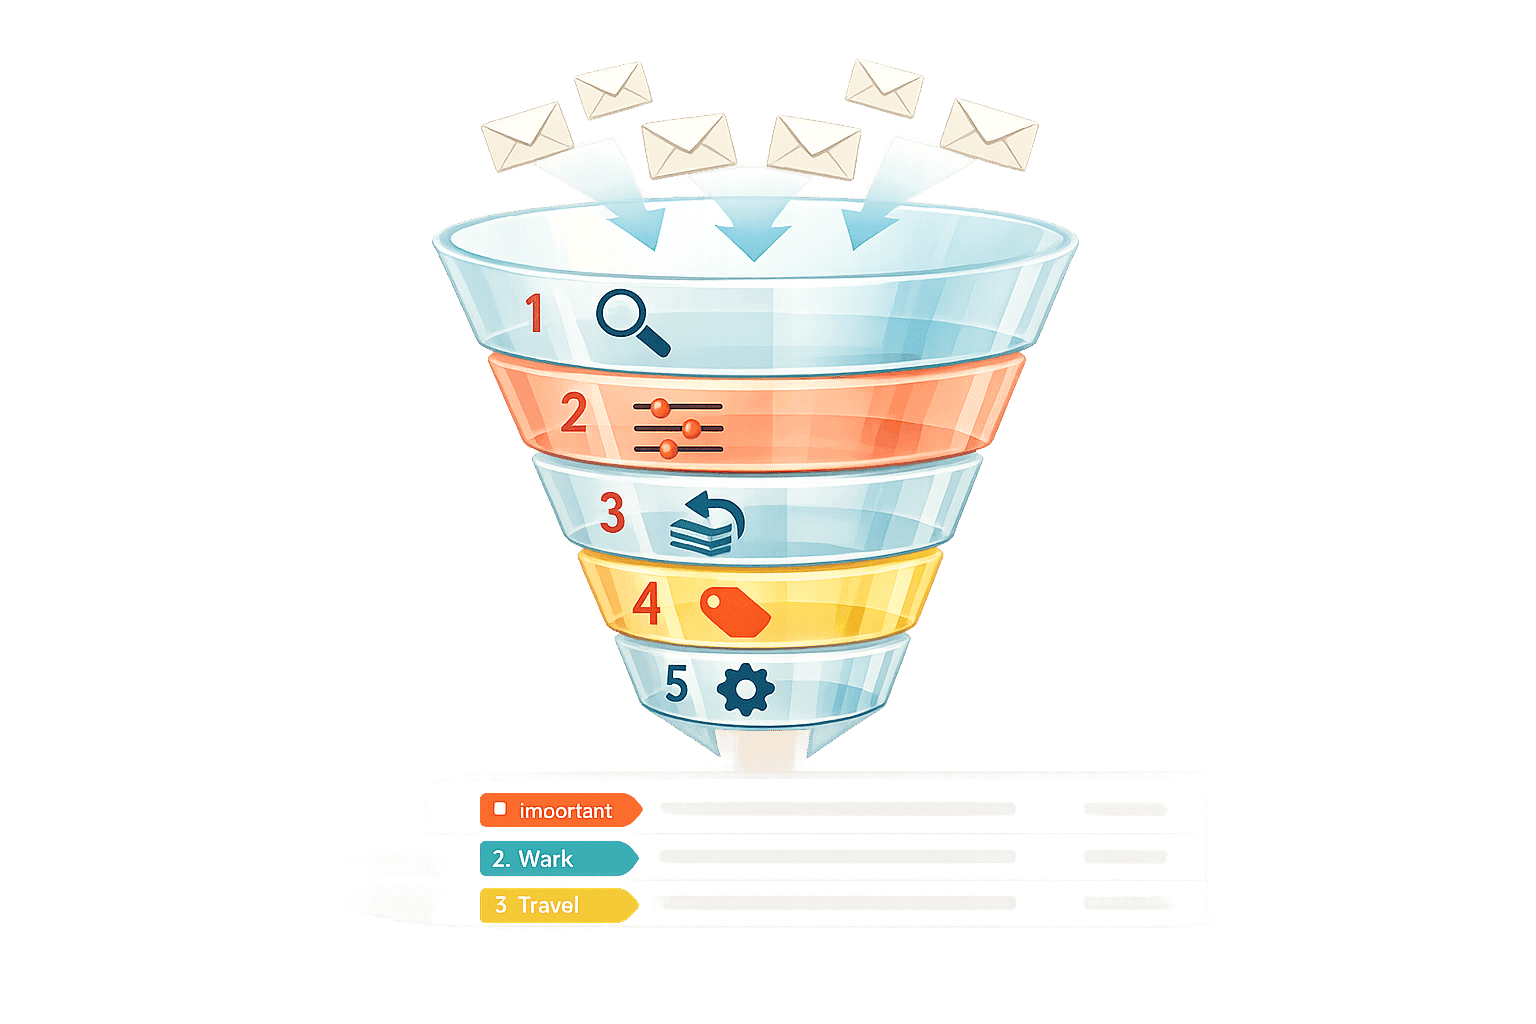
Gmail filters help you manage your inbox by automatically organizing emails based on rules you set. In just five steps, you can streamline your email workflow, reduce clutter, and ensure important messages are prioritized. Here's how:
- Access the Filter Tool: Use the Gmail search bar or navigate through settings to create a new filter.
- Set Filter Criteria: Define rules based on sender, subject, keywords, size, or attachments.
- Choose Actions: Decide what happens to matching emails - archive, label, star, forward, or delete them.
- Apply to Past Emails: Optionally apply the filter to existing emails for instant organization.
- Edit and Manage Filters: Regularly review and adjust filters in Gmail settings to keep them effective.
Filters save time by automating email management. Pair them with tools like MailSweeper to further reduce email clutter by removing low-priority emails over time. These simple steps ensure your inbox stays organized and clutter-free.
How to Set Up Gmail Filters: 5-Step Process Guide
Step 1: Open the Filter Creation Tool
Access Gmail Settings
To create a Gmail filter, you’ll need to use the desktop version of Gmail through a web browser. Advanced filter options aren’t available on mobile devices, so make sure you’re at your computer.
Here’s how to quickly access the filter tool:
- Use the search bar at the top of your inbox. Click the Show search options icon (it looks like three horizontal sliders or a down arrow) on the right side of the search box. This will open fields like From, To, Subject, and Has the words. Once you’ve filled in the fields, click Create filter at the bottom.
Alternatively, you can navigate through Gmail’s settings:
- Click the gear icon in the top-right corner.
- Select See all settings.
- Go to the Filters and Blocked Addresses tab.
- At the bottom of the page, click Create a new filter.
If you want to filter emails similar to one you’ve already received, open that email, click the More icon (three vertical dots), and choose Filter messages like these. This will automatically populate the sender’s address into the filter fields.
Once you’ve accessed the tool, move on to Step 2: Set Your Filter Criteria.
sbb-itb-34b9fd2
Step 2: Set Your Filter Criteria
Enter Filter Details
Once you've opened the filter creation tool, you'll find several fields to fine-tune the emails you want to target. Gmail filters work by matching emails that meet all the conditions you specify in these fields.
The From field allows you to target specific senders or entire domains. For instance, entering @company.com will capture all emails from that domain, while sender@gmail.com focuses on a single email address. Want to filter multiple senders? Use the OR operator or curly brackets, like {email1@test.com email2@test.com}.
The Subject and Has the words fields let you search for specific terms or phrases. To search for an exact phrase, enclose it in quotation marks (e.g., "Project Update"). To exclude certain emails, use the Doesn't have field. For example, entering -unsubscribe will prevent promotional emails from triggering the filter.
The Size field helps you filter messages by file size - whether larger or smaller than a specified amount in MB, KB, or Bytes. If you're looking for emails with attachments, just check the Has attachment box.
Preview Matching Emails
Before you finalize the filter, click the Search button at the bottom of the filter creation window. Gmail will display emails that match your criteria, giving you a chance to confirm the filter's accuracy. As Google Help explains:
If you want to check that your search worked correctly, see what emails show up by clicking Search.
If the preview includes emails you didn't intend to filter, click the search options icon to tweak your criteria. You can refine keywords or add exclusions until the preview only shows the emails you want to catch. This step is especially important if you're planning to use the "Delete it" action - double-check that no important emails are included. Once you're satisfied with the preview, you're ready to move on to Step 3: Select Filter Actions, where you’ll define how Gmail handles the filtered emails.
Step 3: Select Filter Actions
Pick Your Actions
Once you've finalized your filter criteria, click Create filter to access the action menu. From there, choose one or more actions by checking the appropriate boxes.
The Skip the Inbox (Archive it) action is perfect for clearing your main inbox while keeping emails accessible in the All Mail folder. For added organization, combine this with the Apply the label action. For instance, you could archive retailer emails and label them as "Receipts" to keep your inbox tidy without losing track of them.
If you receive notifications or system logs that don’t require immediate attention, use Mark as read to keep them available without cluttering your unread emails. To highlight important messages, select Star it or Always mark it as important - these actions make VIP senders stand out with a star icon and Gmail's importance marker.
Need to share emails with someone else? The Forward it action sends matching messages to a pre-verified email address. Keep in mind, this only applies to new incoming emails. To ensure critical messages avoid the spam folder, use Never send it to Spam - this whitelists specific senders or domains, guaranteeing their emails always land in your inbox. For emails you don’t need, like expired promotions, the Delete it action moves them to the Trash, where they’ll be automatically removed after 30 days.
Lastly, the Categorize as action helps you organize emails into Gmail’s tabs, such as Promotions, Social, or Updates, for better email management. Don’t forget to check Also apply filter to matching conversations if you want the selected actions to apply to existing emails as well.
Step 4: Apply the Filter to Past Emails
Turn On the Filter
Once you've chosen your filter actions, look for the "Also apply filter to matching conversations" checkbox. This option shows how many past emails match your filter criteria (e.g., "Also apply filter to 15 matching conversations").
Before applying the filter, preview the search results to ensure the filter targets the correct emails. This step helps you avoid affecting unintended messages.
When you're confident everything looks right, check the box and click Create filter. This will apply your chosen actions - like labeling, archiving, marking as read, or deleting - to all matching past emails. It also ensures that new incoming emails are handled automatically.
Keep in mind that forwarding rules only work for new messages. If you need to apply or adjust a filter for past emails later, go to Settings > Filters and Blocked Addresses, edit the filter, check "Also apply filter to matching conversations," and save your updates.
Once you're done, move on to Step 5: Edit and Manage Your Filters to refine your setup further.
Step 5: Edit and Manage Your Filters
Find Your Filter Settings
Keeping your Gmail filters organized is key to maintaining an efficient inbox. Start by opening Gmail on your computer, clicking the gear icon in the upper-right corner, and selecting See all settings. From there, go to the Filters and Blocked Addresses tab.
Here, you'll find a list of all your active filters. Each filter displays its Matches (the search criteria, such as a sender or subject) and Do this (the actions applied, like skipping the inbox or adding a label). Next to each filter, you’ll see options to Edit or Delete.
To make changes to a filter, click Edit. Update the search criteria or actions, and use the Search button to preview emails that match the criteria. Once satisfied, save your changes. If you want the updated filter to apply to emails already in your inbox, check the box for Also apply filter to matching conversations before clicking Update filter. Regularly reviewing and fine-tuning your filters helps them stay relevant to your changing needs.
If a filter is no longer useful, click Delete and confirm your choice by selecting OK. However, if you think you might need the filter later, back it up first. Select the filter, then click Export at the bottom of the page to save it as an XML file. This backup can also be used to transfer filters to another Gmail account or bulk-edit rules using a text editor.
Keep in mind, filter management is only available on the desktop version of Gmail. If you’ve renamed or removed a label tied to a filter, you’ll need to manually update the filter to reflect the new label name.
Up next, discover how MailSweeper can work alongside these filters to make managing your inbox even easier.
How MailSweeper Works with Gmail Filters
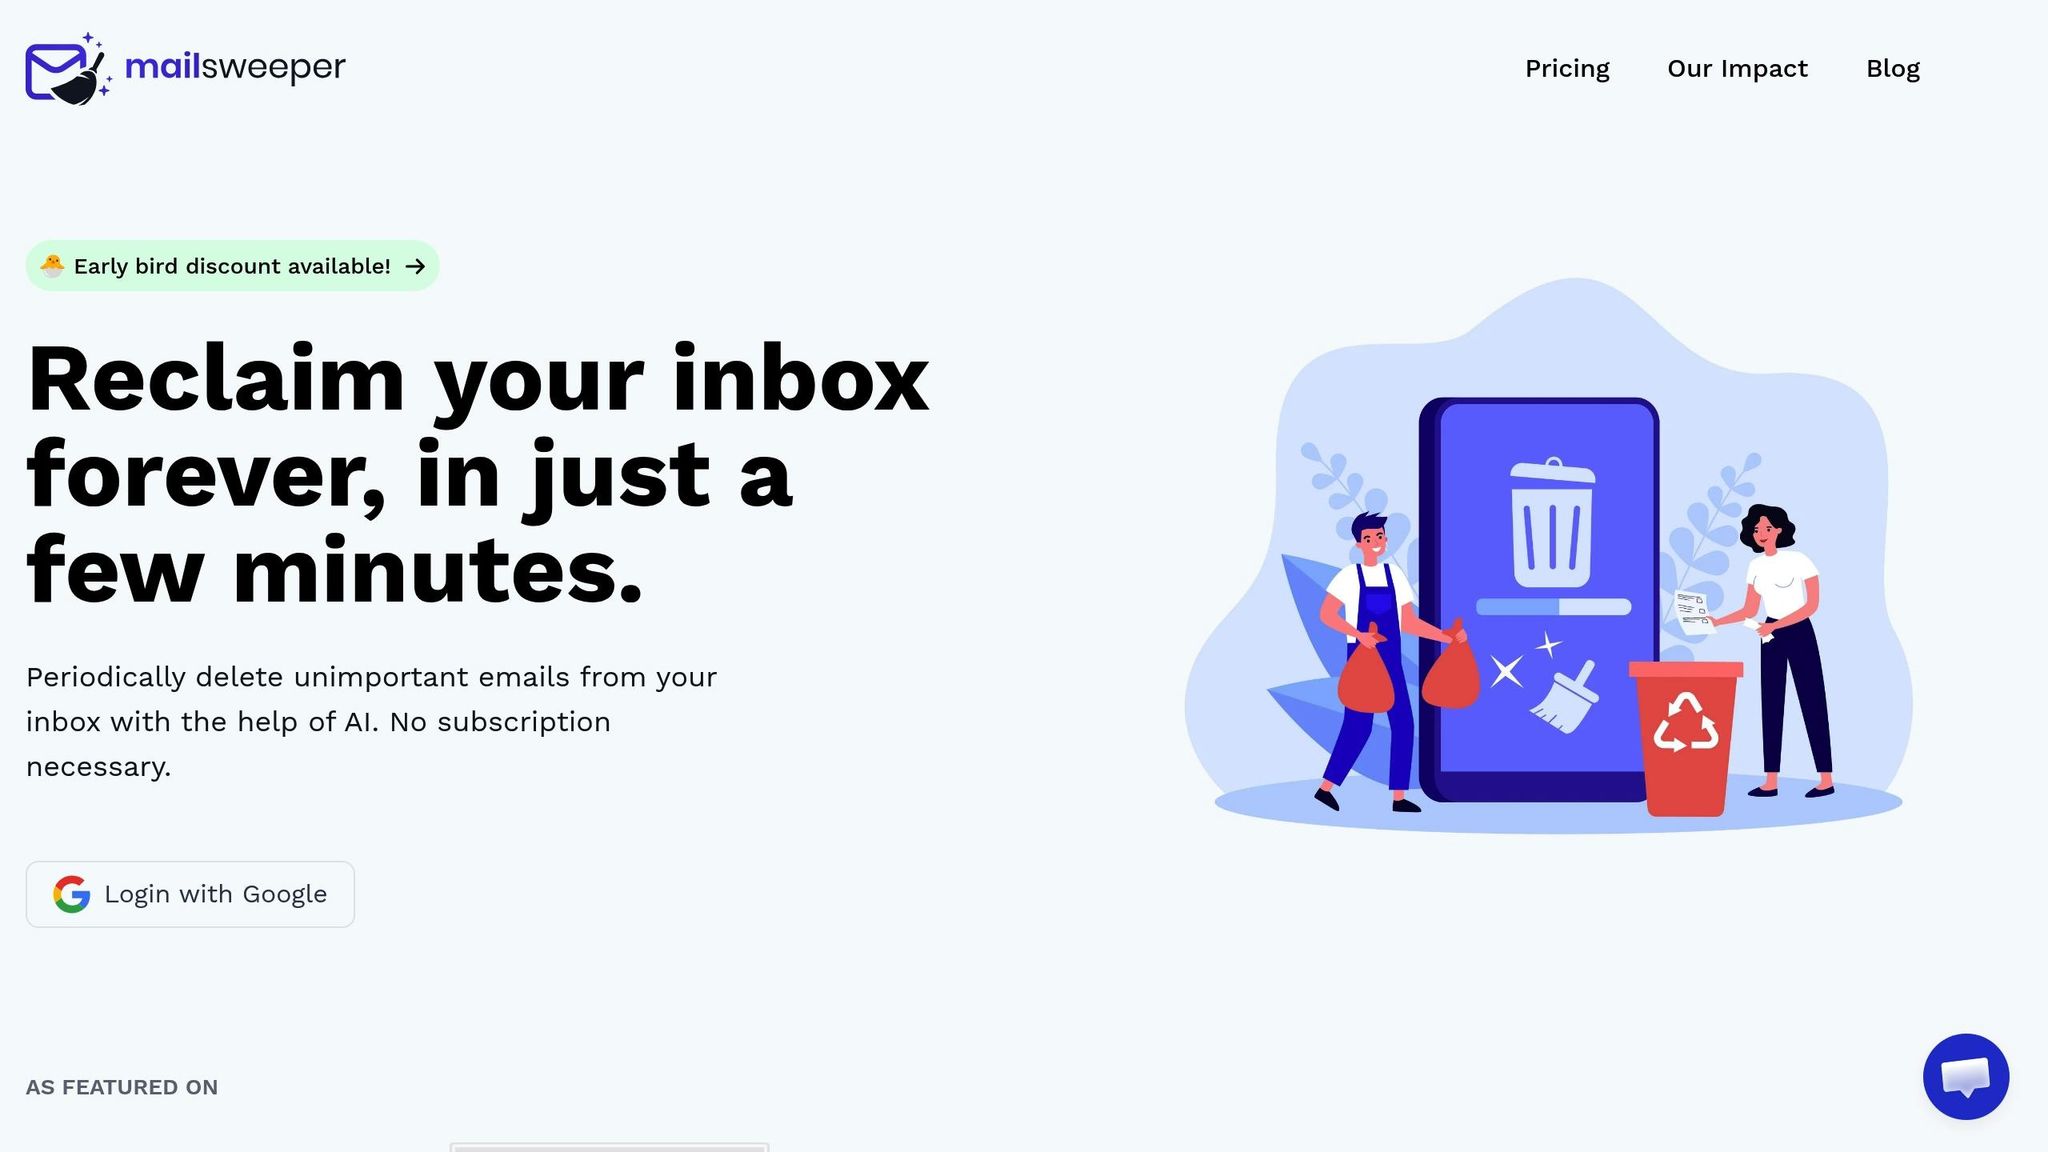
What is MailSweeper?
Gmail filters are great for sorting incoming emails based on rules you create. But what about cleaning up the clutter already sitting in your inbox? That’s where MailSweeper steps in. Using AI, it identifies and clears out low-priority emails without requiring you to set up specific rules. Instead of manually managing every type of message, MailSweeper learns from your inbox and gradually removes unnecessary emails. The service is available for a one-time fee starting at $13.
How the Dustpan Works
Once you install MailSweeper, it creates a special label in your Gmail account called "The Dustpan." This label automatically gathers low-priority emails while leaving important, starred, and primary messages untouched. This way, you don’t have to worry about losing critical emails.
Emails in "The Dustpan" are periodically deleted, based on your preference, after 30 or 90 days.
Benefits of Using MailSweeper
Combining MailSweeper with Gmail filters can save you a lot of time and hassle. While filters organize incoming mail, MailSweeper focuses on clearing out old messages you no longer need. This helps reduce storage costs, simplifies inbox management, and ensures your data stays secure with CASA certification. With "The Dustpan" quietly removing outdated, low-priority emails, your inbox stays clean and efficient. Together, MailSweeper and Gmail filters create a system that keeps your inbox organized effortlessly.
How to use Gmail Filters like a Pro! (Tutorial)
Wrapping It Up
Gmail filters are a powerful way to streamline your inbox with email productivity tools. By setting up criteria - like sender, subject, or keywords - you can automate actions such as labeling or archiving. Plus, you can apply these filters to past emails and tweak them anytime, helping you focus on what truly matters.
Pairing filters with MailSweeper's cleanup strategy takes email management to the next level. While filters sort incoming messages, MailSweeper's "The Dustpan" clears out older, low-priority emails after 30 or 90 days (your choice). This keeps your inbox tidy and free from unnecessary clutter.
Using both tools together simplifies inbox management. They work hand-in-hand to categorize emails and automatically remove the ones you no longer need, saving you time and letting you concentrate on what’s important.
FAQs
Why isn’t the filter option available in the Gmail mobile app?
The Gmail mobile app doesn’t include the option to create filters. This is because the advanced filtering tools and search criteria needed to set up and manage filters are only accessible through the full desktop version of Gmail. The desktop interface provides the functionality required for handling filtering rules efficiently.
How can I stop a filter from catching important emails?
If you want to make sure important emails don’t get caught by a filter, tweak the filter's criteria to exclude them. Adjust the search conditions so emails marked as important, starred, or from specific senders aren’t mistakenly captured. To do this in Gmail, go to Settings > Filters and Blocked Addresses. From there, you can edit existing filters and add exceptions, like specific keywords or trusted senders, to keep those critical messages safe.
What’s the difference between a Gmail filter and MailSweeper’s Dustpan?
A Gmail filter is a tool you set up manually to handle incoming emails based on specific rules. For instance, you can create filters to automatically label, archive, delete, or forward emails depending on factors like the sender, subject, or certain keywords. However, these filters only work for emails as they arrive - they don’t apply retroactively or require AI.
On the other hand, MailSweeper’s Dustpan takes a smarter approach. Using AI, it automatically gathers low-priority emails into a special folder, sparing you the hassle of sorting them yourself. It’s designed to ignore important or starred messages, ensuring your inbox stays tidy without requiring constant manual input. Plus, it periodically clears out these low-priority emails, so you don’t have to.
More free Gmail tools.
Pair these together for a full inbox reset.
Bulk Unsubscribe from Gmail
See the senders flooding your inbox, ranked by volume — your shortlist for unsubscribes.
Open toolMass Delete Gmail Emails
Build a deletion plan by sender, date, label, or all-unread — with the exact Gmail search to run.
Open toolFind Large Emails in Gmail
Pick a size and we build the exact Gmail search to find your biggest emails — then open it in one click.
Open toolGmail Storage Cleanup
Move the slider to your current Gmail usage to see exactly what to delete to free space.
Open toolInbox Zero Score
Rate your inbox health on a 0–100 scale and see the weekly hours your inbox is costing you.
Open tool