Email Management
Best Practices for Gmail Auto-Delete Rules
Learn how to effectively manage your Gmail inbox with auto-delete rules and advanced tools to keep clutter at bay and optimize storage.
Best Practices for Gmail Auto-Delete Rules
Managing your Gmail inbox can be overwhelming, especially when you receive hundreds of emails daily. Setting up auto-delete rules is a simple way to keep your inbox organized and avoid hitting Gmail's 15 GB storage limit. Here's what you need to know:
- Gmail Filters: Use Gmail’s built-in filters to automatically delete emails based on sender, subject, keywords, or attachments. However, Gmail doesn’t support time-based deletions (e.g., “delete emails older than 7 days”) unless you use workarounds like Google Apps Script.
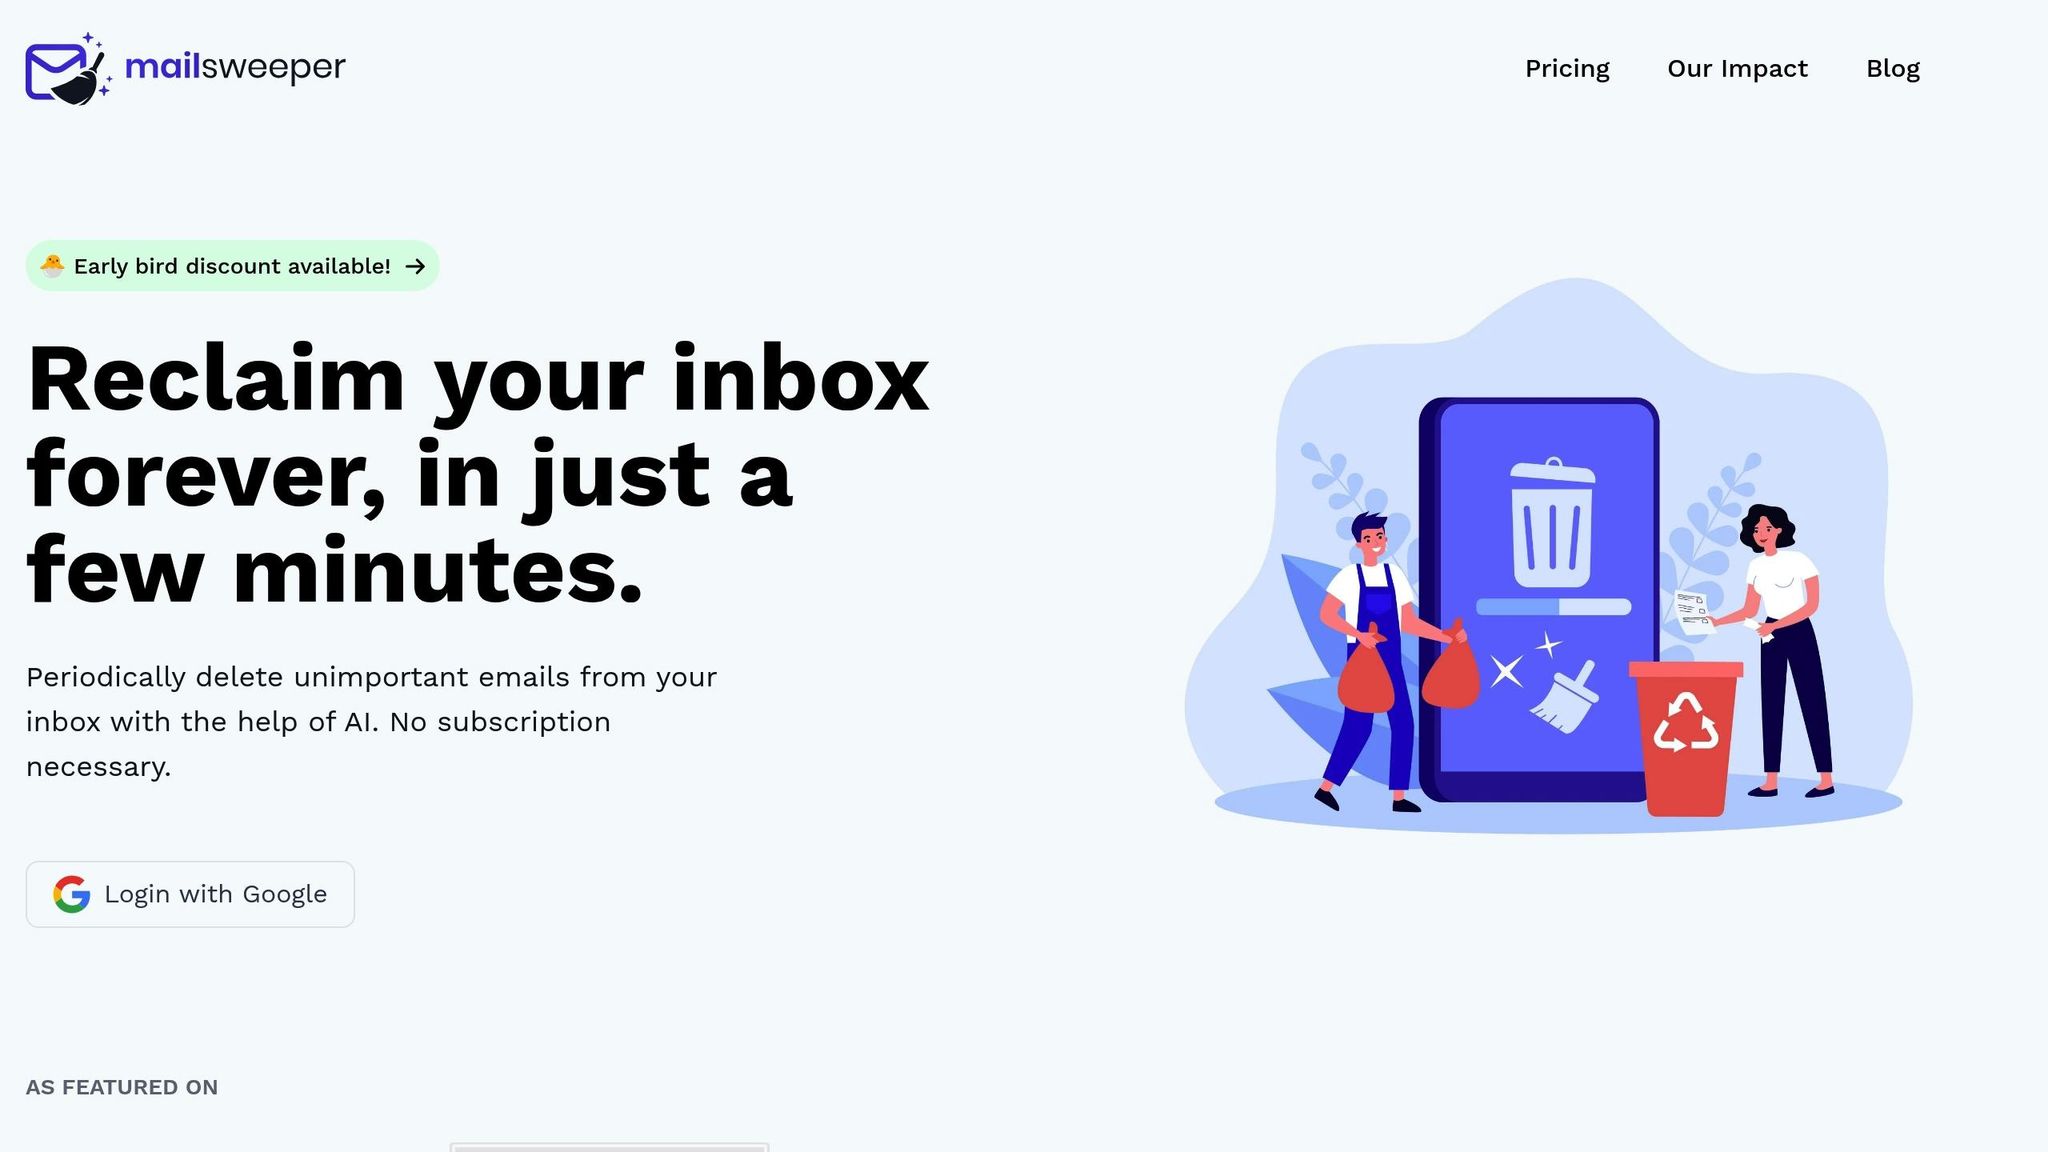
- Advanced Tools: Consider third-party tools like MailSweeper for features Gmail lacks, such as AI-based email sorting and periodic cleanups. MailSweeper costs $20 (one-time) and can help reduce storage use by removing unnecessary emails.
- Best Practices: Test filters manually before applying them, avoid broad rules, and review your Trash folder to prevent accidental deletions. For added safety, exclude important labels like "Work" or "Receipts" from deletion rules.
Quick Tip: Combine Gmail filters for simple tasks with tools like MailSweeper for smarter, automated cleanup.
How to Automatically Delete Old Emails in Gmail (2025) - Auto-Cleanup

Gmail's Built-In Auto-Delete Features
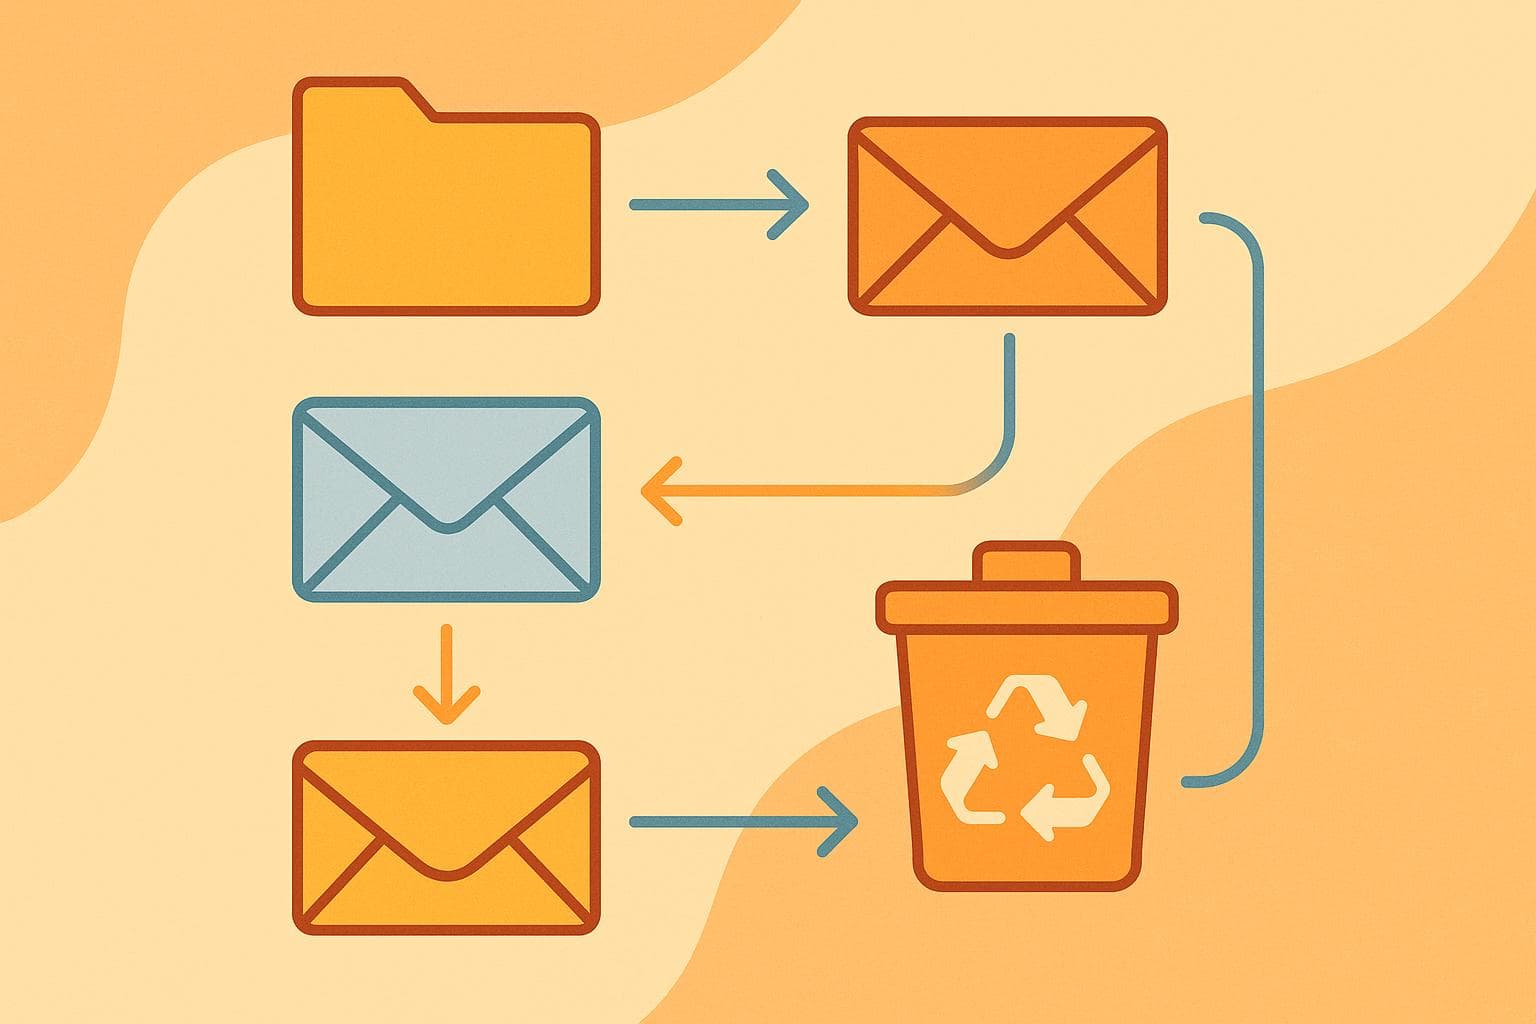
Gmail includes a filtering system that helps you automatically organize your emails based on specific rules. With these filters, you can sort, label, forward, or even delete emails without lifting a finger. While it’s not as advanced as AI-powered tools, it’s a decent option for managing your inbox with basic automation.
Here’s how it works: Gmail scans incoming emails and checks if they match the rules you’ve set up. If there’s a match, the system applies the action you’ve chosen - whether that’s deleting the email, moving it to a folder, or marking it as read. It’s simple but effective for straightforward inbox management.
How Gmail Filters Work
Setting up Gmail filters is relatively easy, though it does require manual input. Head to the "Filters and Blocked Addresses" section in your Gmail settings. From there, you can create filters based on criteria like sender, subject line, keywords, attachments, or even the size of the email.
Gmail also offers the option to apply your new filter to existing emails by selecting "Also apply filter to matching conversations." This is handy if you want to clean up old emails that meet the same criteria.
When a filter deletes an email, it moves it to the Trash folder, where it stays for 30 days before being permanently deleted. This gives you a buffer in case you need to recover something you didn’t mean to delete.
That said, Gmail filters do have their limits.
Gmail Filter Limitations
While Gmail’s filters are useful, they fall short in some key areas. The most notable drawback? You can’t create filters to delete emails after a specific number of days. For example, there’s no way to set up a rule like “delete promotional emails older than 7 days” using Gmail alone.
This lack of time-based automation means you’ll either have to manually clean up your inbox or rely on technical workarounds like Google Apps Script. Another limitation is the absence of AI-driven intelligence - Gmail filters can’t learn from your habits or distinguish between emails that matter and those that don’t.
If you’re using a Google Workspace account, administrators do have access to more advanced features. For example, through the Admin Console, they can set domain-wide retention policies that automatically delete emails after a set period, such as 30, 60, or 90 days. Unfortunately, these options aren’t available for personal Gmail users.
| Feature | Regular Gmail Users | Google Workspace Admins |
|---|---|---|
| Delete by sender/subject | Yes | Yes |
| Delete after X days | No | Yes (domain-wide) |
Without the ability to schedule cleanups or apply more nuanced rules, Gmail filters can feel a bit rigid. They also don’t offer safeguards to prevent accidentally deleting important emails - once a filter is applied, it treats all matching emails the same, regardless of their importance.
For those who need more advanced tools - like the ability to periodically delete old emails or use AI to identify what’s truly unimportant - third-party apps can help fill in the gaps where Gmail’s built-in features leave off.
How to Set Up Gmail Auto-Delete Rules
Setting up Gmail auto-delete rules might seem tricky at first, but it’s actually pretty simple once you know where to find the right settings. By creating filters, you can automatically identify and delete specific emails based on criteria you define. While Gmail’s built-in filters can’t delete emails solely based on their age, they’re great for targeting unwanted messages by sender, subject, or keywords.
Creating Gmail Filters for Auto-Deletion
To get started, open Gmail and click the gear icon in the top-right corner. From the dropdown menu, select "See all settings". Next, go to the "Filters and Blocked Addresses" tab and click "Create a new filter" to begin setting up your rule.
In the filter setup window, you’ll find several fields where you can specify the criteria for your filter. For instance:
- The "From" field allows you to target emails from specific senders. For example, typing "newsletter@spam.com" will catch all emails from that sender.
- The "Subject" field lets you filter emails with specific words in the subject line.
- The "Has the words" field helps you search for specific keywords within the email content.
Here are a few examples of useful filter criteria:
- "from:promotions@retailer.com" to target promotional emails from a retailer.
- "subject:newsletter" to catch emails with "newsletter" in the subject.
- "has:words 'unsubscribe'" to flag emails containing "unsubscribe" in the body.
It’s best to avoid overly broad criteria like "has:attachment", as this might accidentally delete important emails with attachments.
Once you’ve entered your criteria, click "Create filter" to move to the next step. Here, check the box for "Delete it" to enable automatic deletion. If you also want to clean up existing emails that match your criteria, check "Also apply filter to matching conversations." This ensures that the filter applies to both current and future emails.
Testing and Managing Rules
After creating a filter, it’s a good idea to test it to ensure it works as expected. Before activating the "Delete it" action, try running a manual search in Gmail using the same criteria. For example, if your filter targets emails from a specific sender, type "from:sender@example.com" in the search bar and review the results. This helps you confirm that only the intended emails will be affected.
Tip: Always run a manual search to test your filter criteria before enabling the "Delete it" action.
If everything looks good, you can proceed with confidence. If not, adjust your criteria to avoid deleting important emails.
To manage your filters, head back to the "Filters and Blocked Addresses" tab in Gmail settings. You’ll see a list of your active filters with options to "edit" or "delete" them. Use "edit" to tweak the filter’s criteria or actions, or "delete" to remove it entirely. Don’t forget to save any changes you make.
It’s a good habit to review your filters every few months to ensure they’re still relevant and effective. Check your Trash folder occasionally to make sure only unwanted emails are being deleted. If you notice important messages ending up there, adjust your filters right away.
Keep in mind that emails deleted by filters are stored in your Trash folder for 30 days. This gives you a safety net to recover any emails that may have been deleted by mistake. After 30 days, Gmail permanently deletes them, so use this time to verify your filters are working as intended.
Best Practices for Automated Email Deletion
Automating email deletion can be a game-changer for managing your inbox, but it works best when done thoughtfully. By setting up Gmail auto-delete rules to target unnecessary emails while safeguarding important ones, you can streamline your inbox without losing anything critical.
Choosing Safe Deletion Criteria
Start by focusing on emails you don’t need - think promotions, social media notifications, and newsletters. These types of emails often make up the bulk of inbox clutter, with some estimates suggesting they account for as much as 80% of your email volume. That makes them ideal for automated cleanup.
To create targeted filters, look for specific sender addresses like "promotions@retailer.com" or keywords such as "unsubscribe" in the email body. Gmail’s built-in categories, like "Promotions" and "Social", are also reliable for isolating non-essential emails.
To protect important messages, use labels like "Important", "Work", or "Receipts" as safeguards. You can exclude these labels from deletion by adding syntax like -label:Important to your filters. This way, even if an email matches your deletion criteria, it won’t be removed if it’s been marked with a protected label.
"By default, we will never delete emails that are 'starred,' marked important, or in your primary inbox. Only emails in the categories of your choosing will be swept into the dustpan." - MailSweeper FAQ
Avoid overly broad filters that could accidentally delete key emails. For example, instead of targeting entire domains or generic terms like "meeting", be as specific as possible. Always test your filters manually before enabling automatic deletion, and revisit these rules often to ensure they match your evolving email habits.
Reviewing and Updating Rules
To keep your filters effective, review them every three months. Head over to the "Filters and Blocked Addresses" section in Gmail's settings and check your active rules. Look for filters that might be too aggressive or no longer relevant.
It’s also a good idea to check your Trash folder regularly. If you notice that important emails are being deleted, tweak your filter settings immediately. Gmail automatically clears the Trash after 30 days, so staying on top of this prevents any accidental losses.
When creating new filters, test them first by running the search criteria manually in Gmail. This allows you to see which emails would be affected without taking any immediate action. As a precaution, start by having filtered emails moved to a specific label instead of deleting them outright. Monitor the results for a few weeks before switching to automatic deletion. This gradual approach ensures your filters work as intended and keeps your inbox safe from unintended cleanups.
Storage Optimization Benefits
Automated deletion isn’t just about decluttering - it’s also a smart way to manage Gmail’s free 15 GB storage limit. By removing unnecessary emails, you can delay the need for storage upgrades, which start at $1.99 per month for 100 GB. For example, deleting 1,000 emails (each about 1 MB) can free up 1 GB of space. If you’re receiving hundreds of promotional emails every month, automated rules can help you avoid several gigabytes of clutter over the course of a year.
A cleaner inbox also means faster load times, quicker searches, and less time spent manually sorting through junk. Instead of wasting 10–15 minutes a day deleting promotional emails, you can let automation handle the heavy lifting. This not only saves time but also keeps your email environment consistently organized.
For even better results, consider pairing Gmail’s filters with AI-powered tools like MailSweeper. These tools use machine learning to identify unimportant emails with greater accuracy, reducing the risk of accidental deletions while helping you optimize storage and maintain a clutter-free inbox.
sbb-itb-34b9fd2
Using AI-Powered Tools with Gmail Auto-Delete
Gmail's built-in filters are great for basic email organization, but when it comes to advanced automation, tools like MailSweeper take things to the next level. Unlike Gmail filters, which rely entirely on rules you set up manually, MailSweeper uses AI to adapt to your email habits, spotting patterns you might miss. Here's a closer look at what makes MailSweeper stand out.
How MailSweeper Works
MailSweeper leverages artificial intelligence to identify and manage unimportant emails, automatically sorting them for deletion. It tags these emails with a "🧹Dustpan" label and periodically moves them to the trash. This continuous cleanup handles both new and old emails - something Gmail's native filters can't do on their own.
Getting started is simple. After signing in with your Google account, you'll answer a few questions to help MailSweeper tailor its AI to your preferences. From there, the tool evaluates various factors like sender reputation, content patterns, and your interaction history. For instance, if you frequently ignore promotional emails or social media notifications, MailSweeper learns this behavior and flags similar messages for deletion.
The tool is designed to protect your important emails. According to the MailSweeper FAQ:
"By default, MailSweeper will never delete emails that are 'starred,' marked important, or located in your primary inbox. Only emails in user-chosen categories will be swept into the Dustpan."
You retain full control. If an email is mistakenly labeled for deletion, you can remove the Dustpan tag to keep it.
Cost and Advantages of MailSweeper
MailSweeper is available for a one-time payment of $20, granting you lifetime access to its features.
By automatically reducing your email storage usage, MailSweeper can help you avoid Gmail's paid storage plans, which start at $1.99 per month for 100 GB. The tool minimizes email clutter, potentially saving you from the need for costly storage upgrades.
To date, MailSweeper has processed over 2.8 million emails, saved 206 GB of storage, and reduced carbon emissions by 93.80kgCO2e. Beyond storage and environmental benefits, it saves you the hassle of manually sorting through emails, letting you focus on messages that actually matter.
MailSweeper is CASA certified and integrates securely via OAuth, ensuring that none of your personal data is stored. By combining Gmail’s filters with advanced automation, MailSweeper creates a powerful and secure email management solution.
Gmail Filters vs AI Tools Comparison
Building on the earlier discussion about setup and best practices, it’s worth diving into how Gmail’s native filters and AI tools like MailSweeper stack up against each other. Each offers distinct advantages depending on your needs, making it easier to decide when to use one - or both.
Gmail filters rely on precise, rule-based settings that give you full control over how emails are deleted. For example, you can create filters to automatically delete emails from specific senders, those containing certain keywords, or even emails exceeding a set size. This works great if your unwanted emails follow predictable patterns. However, one limitation is that Gmail filters don’t natively support age-based deletions.
On the other hand, MailSweeper uses AI to intelligently identify and remove unimportant emails, whether they’re recent or have been sitting in your inbox for years. Its adaptive nature means it learns from your habits over time, becoming better at distinguishing between what’s important and what’s not. This makes it ideal for tackling more complex scenarios that might require constant updates to Gmail filters.
Pros and Cons
| Feature | Gmail Filters | MailSweeper |
|---|---|---|
| Setup Complexity | Requires manual rule creation | Easy setup with guided prompts |
| Deletion Logic | Static rules (e.g., sender, keywords, subject) | AI adapts to user behavior |
| Age-Based Deletion | Not available | Supported with periodic cleanup |
| Cost | Free | $20 one-time fee |
| Control Level | High – user defines specific rules | High – AI adjusts based on preferences |
| Maintenance | Requires frequent updates | Minimal – AI self-adjusts |
| Risk Management | High risk if rules are too broad | Safeguards for starred/important emails |
| Storage Optimization | Limited to filter effectiveness | Advanced – designed to reduce storage use |
Gmail filters are perfect if you’re looking for a free, straightforward way to automate predictable tasks. They give you precise control but require effort to maintain and don’t offer intelligent prioritization. In contrast, MailSweeper stands out with its AI-driven adaptability, handling both new and old emails while offering built-in safety measures. It’s already helped users clean up over 2.8 million emails and free up 206 GB of storage space. The trade-off? A $20 one-time cost and the need to integrate a third-party tool.
For the best results, consider combining these two approaches. Use Gmail filters for simple, predictable tasks - like deleting emails from a specific sender or promotional campaigns. Then let MailSweeper take care of the heavy lifting by analyzing your inbox and clearing out unimportant emails, all while protecting critical messages. This hybrid strategy ensures a cleaner, more organized inbox without sacrificing important emails.
Conclusion
Setting up Gmail auto-delete rules is a practical way to keep your inbox tidy and reduce storage demands. By automating email management, you can shrink your inbox by as much as 40% and save hours of manual cleanup each month.
The best approach is to start small and build your system gradually. Begin with filters for predictable clutter like promotional emails and newsletters. Test these filters on sample emails to ensure you're not losing anything important. Use precise criteria - such as sender addresses, specific keywords, or Gmail's search operators like older_than:90d - to target unnecessary messages safely. If you're looking for an extra edge, there are tools that can enhance Gmail's built-in capabilities.
For example, AI-powered tools like MailSweeper take email cleanup to the next level. Many users have even been able to downgrade from paid storage plans to free ones thanks to its efficiency. For a one-time cost of $20, MailSweeper offers advanced features like periodic cleanups, smart categorization, and safeguards to protect important emails, such as those you've starred.
To get the best results, combine Gmail's manual filters for straightforward tasks with AI tools for handling more complex patterns and bulk deletions. Don’t forget to revisit your filters periodically - your email habits may change over time, and keeping your system up to date ensures it continues to work effectively. You can easily review and adjust your filters in Gmail's "Filters and Blocked Addresses" settings.
Take the first step toward a cleaner inbox by identifying your main sources of clutter and setting up your auto-delete rules today. Whether you stick with Gmail's built-in tools, opt for a solution like MailSweeper, or use a mix of both, you'll soon enjoy the benefits of a more organized and stress-free email experience.
FAQs
How do I create Gmail filters to ensure important emails aren’t accidentally deleted?
To make sure important emails in Gmail don’t accidentally get deleted, you can set up filters by following these steps:
- Open Gmail, click the gear icon in the top-right corner, and choose See all settings.
- Navigate to the Filters and Blocked Addresses tab, then click on Create a new filter.
- Define the criteria for the emails you want to protect - this could include the sender’s email address, specific keywords, or details in the subject line.
- After defining the criteria, click Create filter and select actions like Never send it to Spam or Star it to ensure these emails are kept safe.
Filters are a great way to stay organized and avoid losing important messages. For even more convenience, you might explore AI-based tools like MailSweeper. These tools can help declutter your inbox while ensuring your crucial emails remain untouched.
What are the challenges of using Gmail's built-in filters for auto-deleting emails, and how can you address them?
Gmail's built-in filters are undeniably handy, but they do have their quirks. One key limitation is that they only work on new incoming emails - they won't touch older messages sitting in your inbox. On top of that, managing more complex filters can quickly become a hassle, especially if you're frequently tweaking them to keep up with changing needs.
If you're looking for a smarter solution, consider trying an AI-powered tool like MailSweeper. This tool steps in to identify and periodically delete emails that don't matter, keeping your inbox tidy with almost no effort on your part. Not only does this save you time, but it also helps cut down on email storage costs and clears out unnecessary digital clutter.
How can AI tools like MailSweeper improve Gmail's auto-delete functionality?
MailSweeper takes Gmail's auto-delete feature to the next level by using AI to pinpoint and remove unimportant emails automatically. This not only helps cut down on email storage costs but also simplifies inbox management, saving you time and effort. With automation handling the clutter, your inbox stays tidy, allowing you to focus on the emails that truly matter.
